Friday, January 24, 2014

How to bury a laptop

How to Bury a Laptop – A Step-by-Step Guide

Because no one can take what they cannot find
In October 2012, I purchased an HP model 2000 laptop with the new Windows 8 OS and like many other customers, immediately hated it. I fooled around with it for a day or two, decided it wasn’t for me and had a friend install the Nadia release of Linux Mint. At the time I was toying with the idea of launching this website and since it was purchased as a spare computer anyway, decided to do a little experiment. On the fifth of November, Guy Fawkes Day 2012, I cached the new HP notebook in my girlfriend’s garden and left it there for an entire year. I had never buried an entire computer before and thought it might make a good test for my Bell Method.
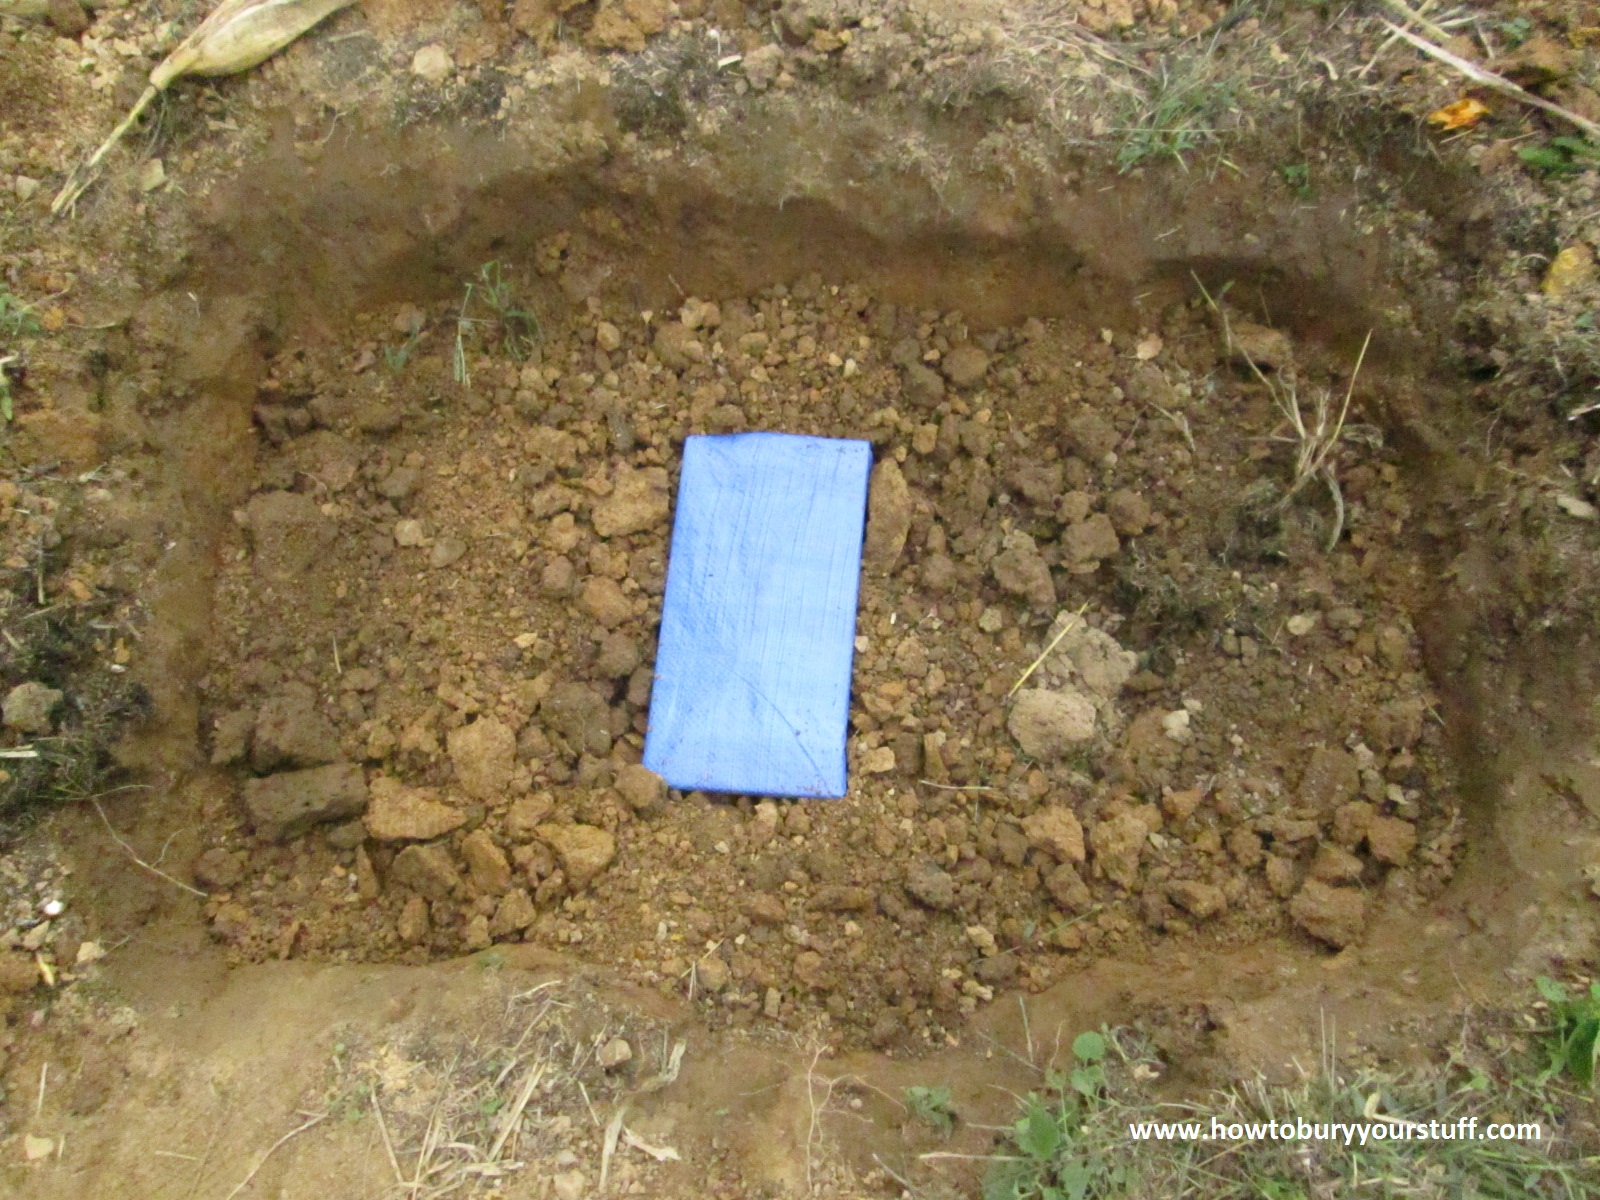
Usually a step-by-step guide would normally follow a certain chronological order but I’m afraid that the order is going to be reversed for this project. Please note that I am documenting a recovery, not a burial. I did not use desiccant or even waterproof containers; the computer itself was not sealed in any way and was not even placed in an air-tight container. In this instructional, I will be showing exactly how it was done and exactly how effectively and easily my Bell Method can be employed. Below you can see a photograph of my girlfriend’s garden where the computer has spent the last year.
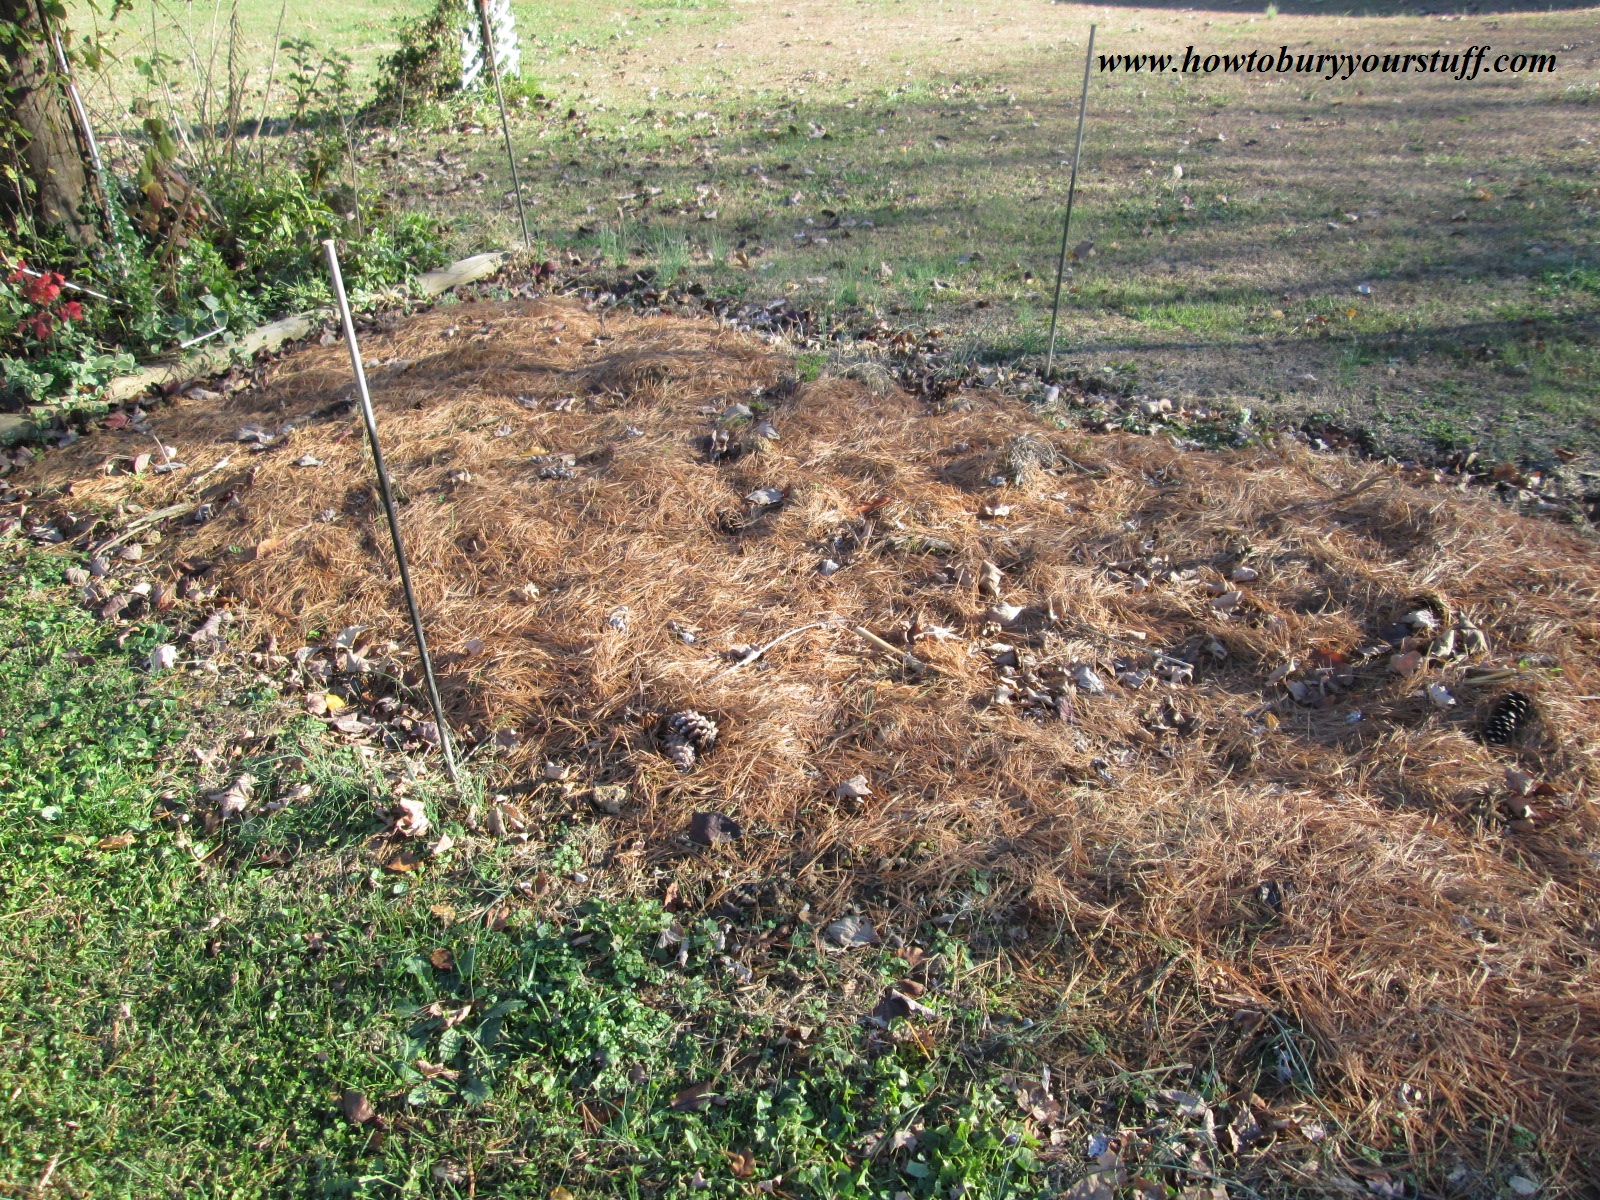
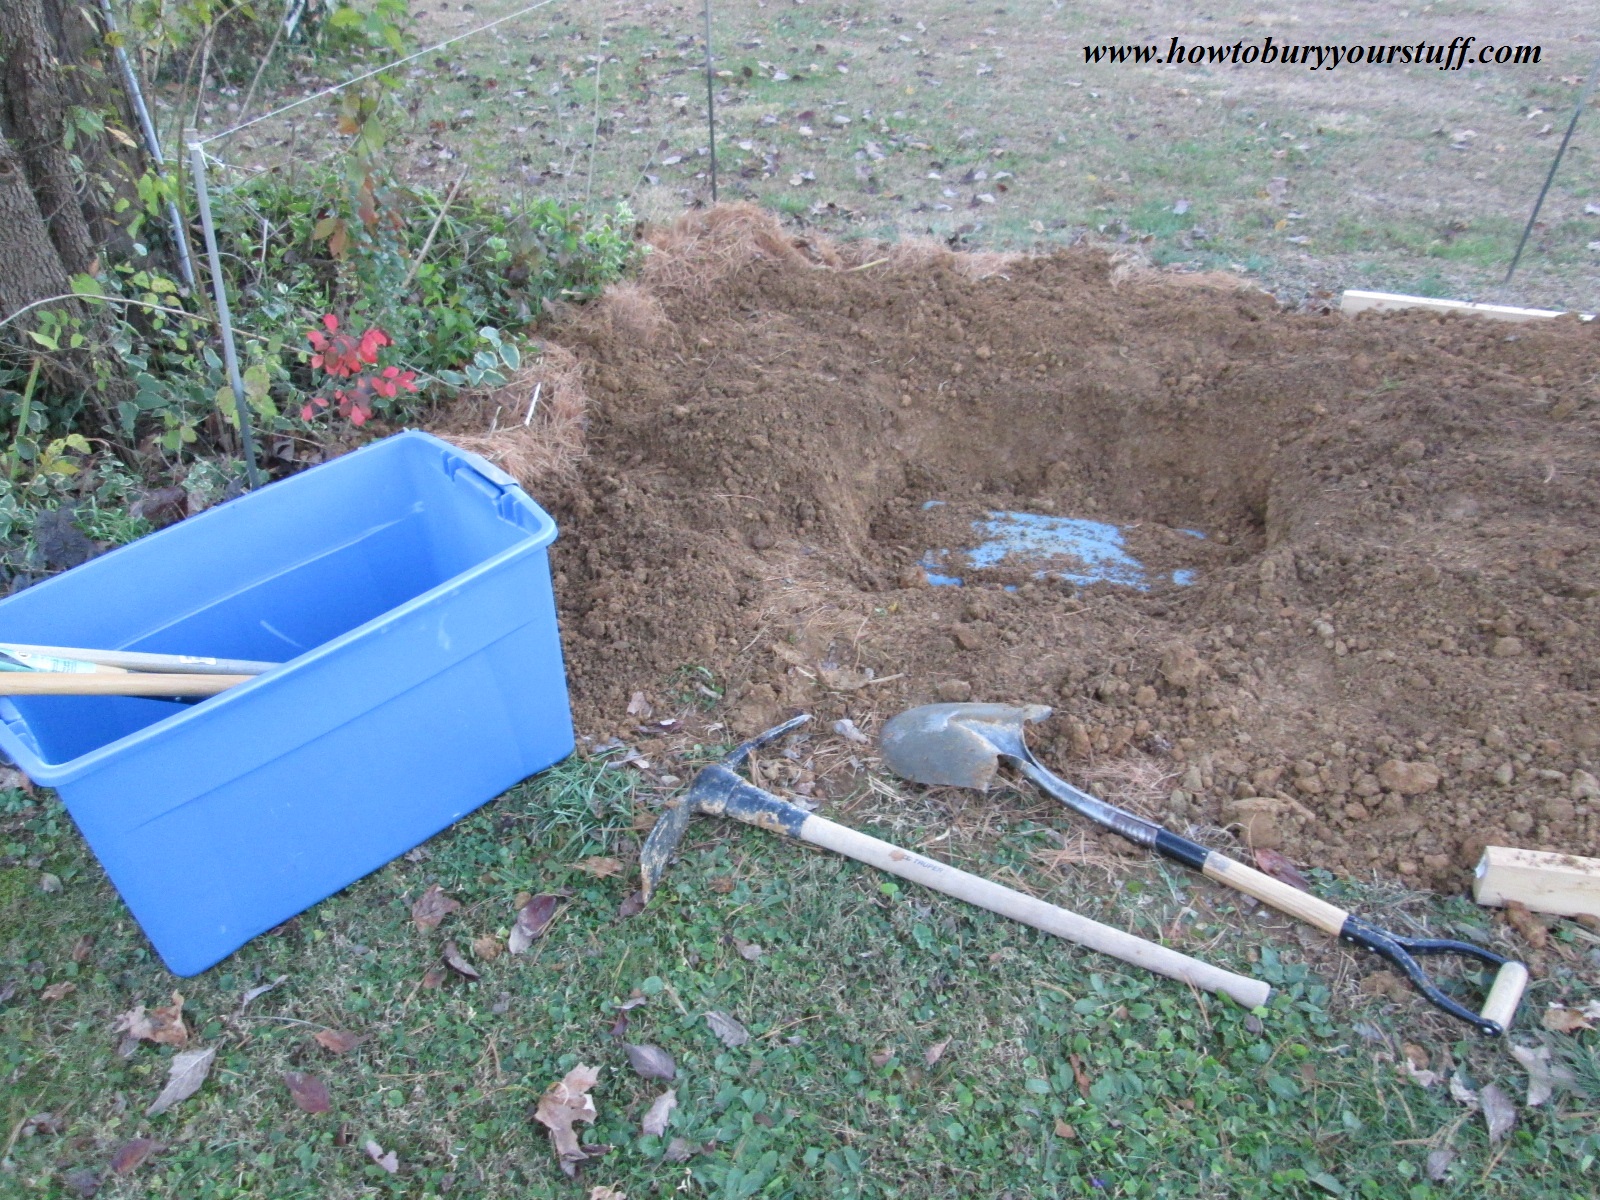
pic 1Because of rain and storms, I was unable to retrieve the laptop on the exact anniversary of the fifth of November. It’s now two days later and here goes; I’ve retrieved my geocaching tools from the garage and now it’s time to commence with the digging.
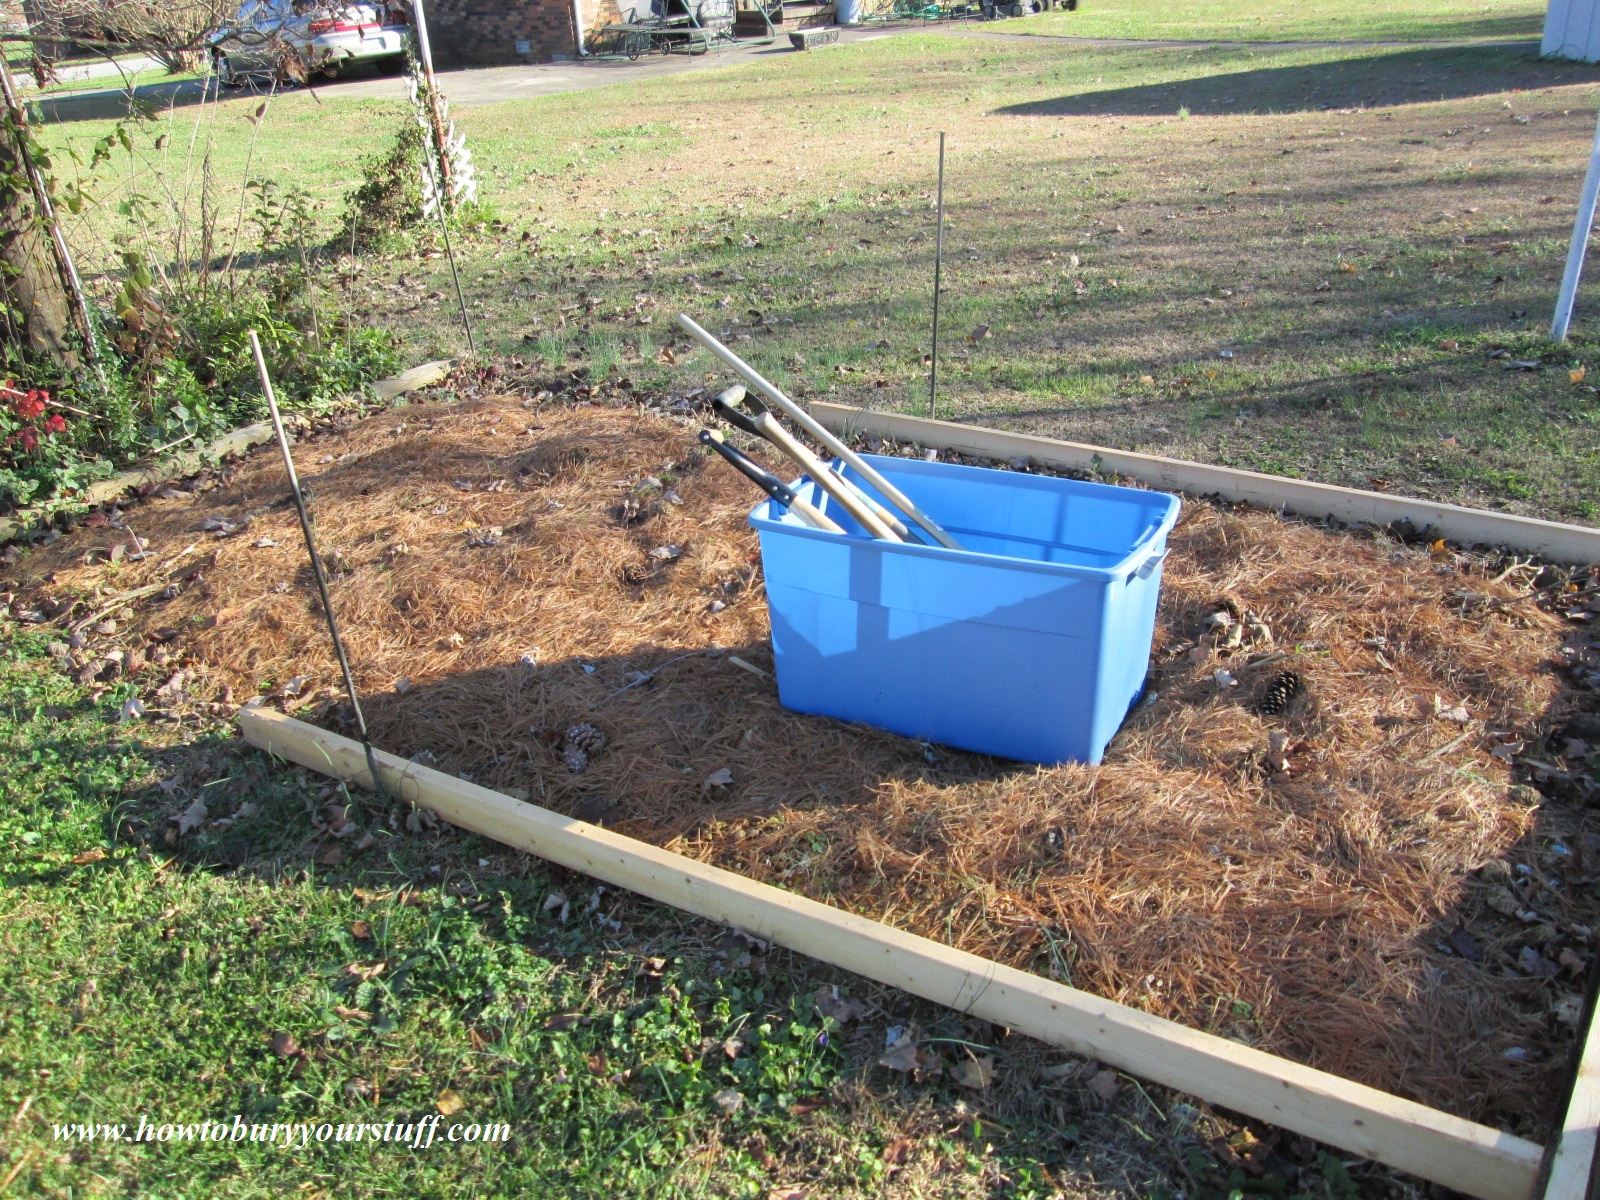
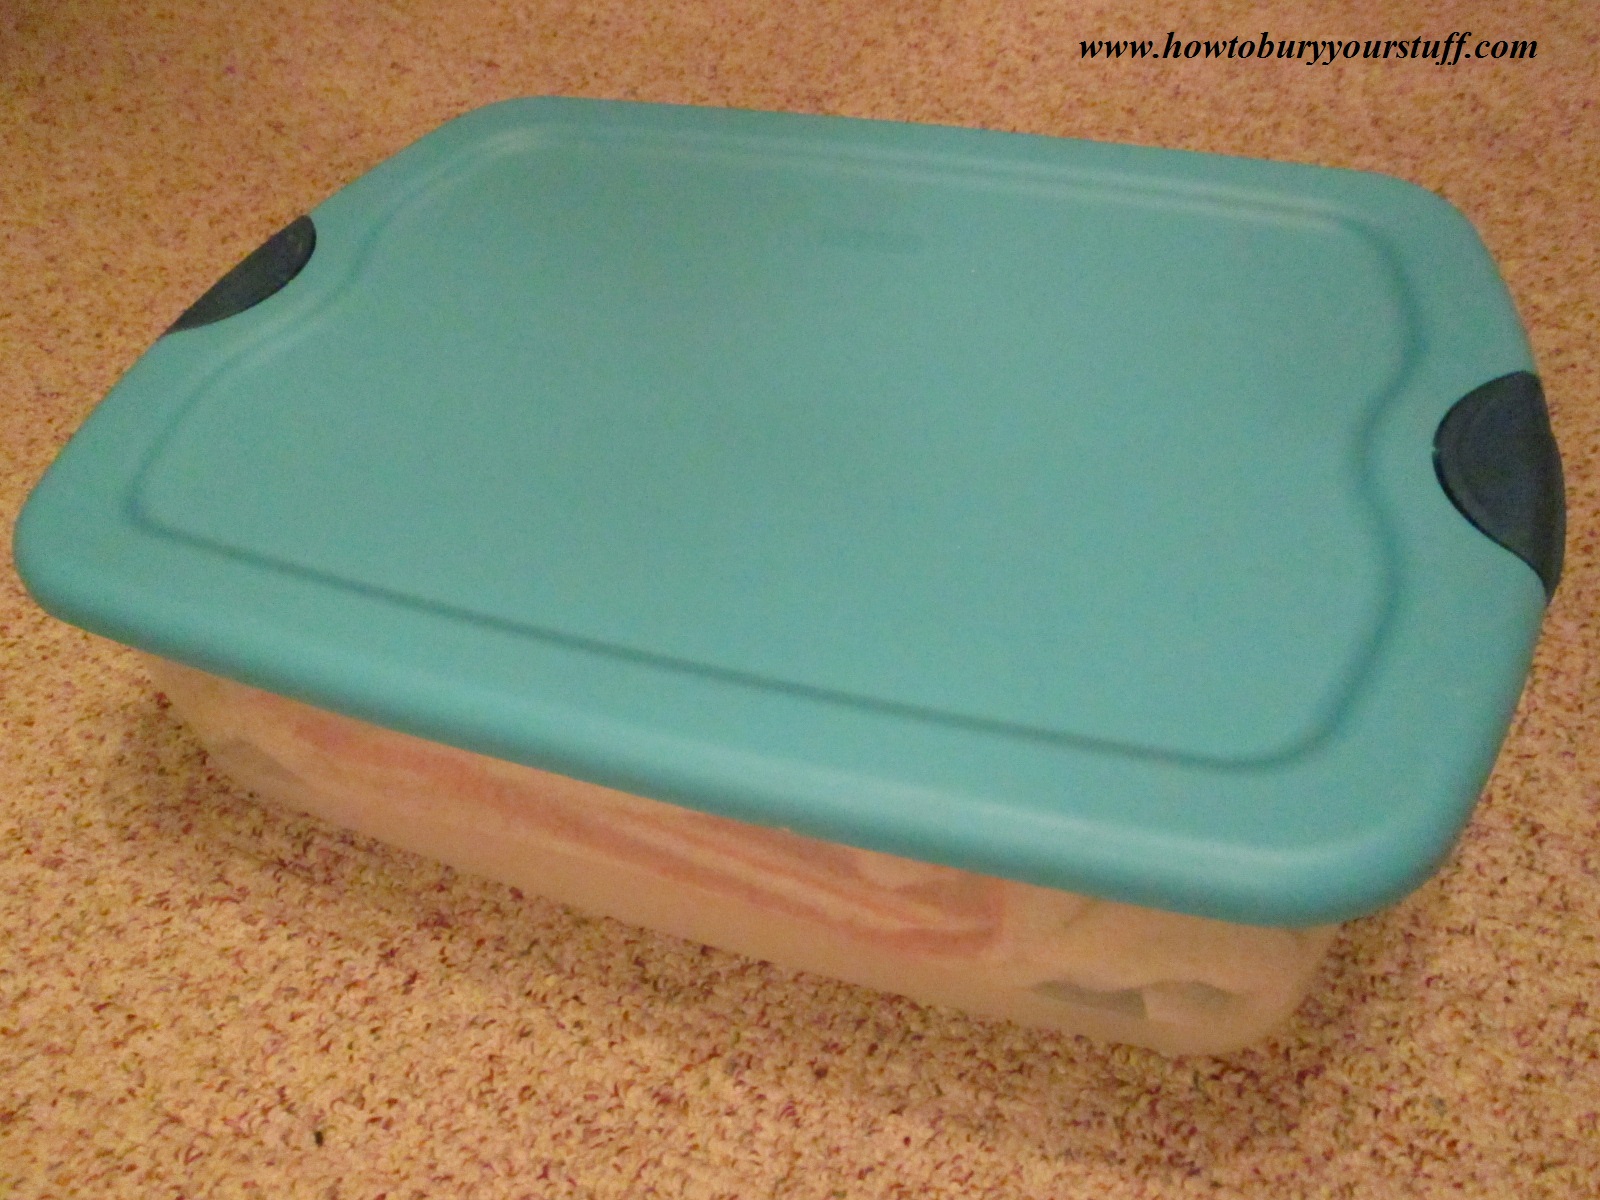
pic 2After about a half an hour of back-breaking labor (yes, I’m getting too old to be digging holes) I’ve uncovered the bottom of a large blue Tupperware storage tote that I used for a Bell. Inside the Bell is a clear plastic Sterilite tote that contains the laptop itself.
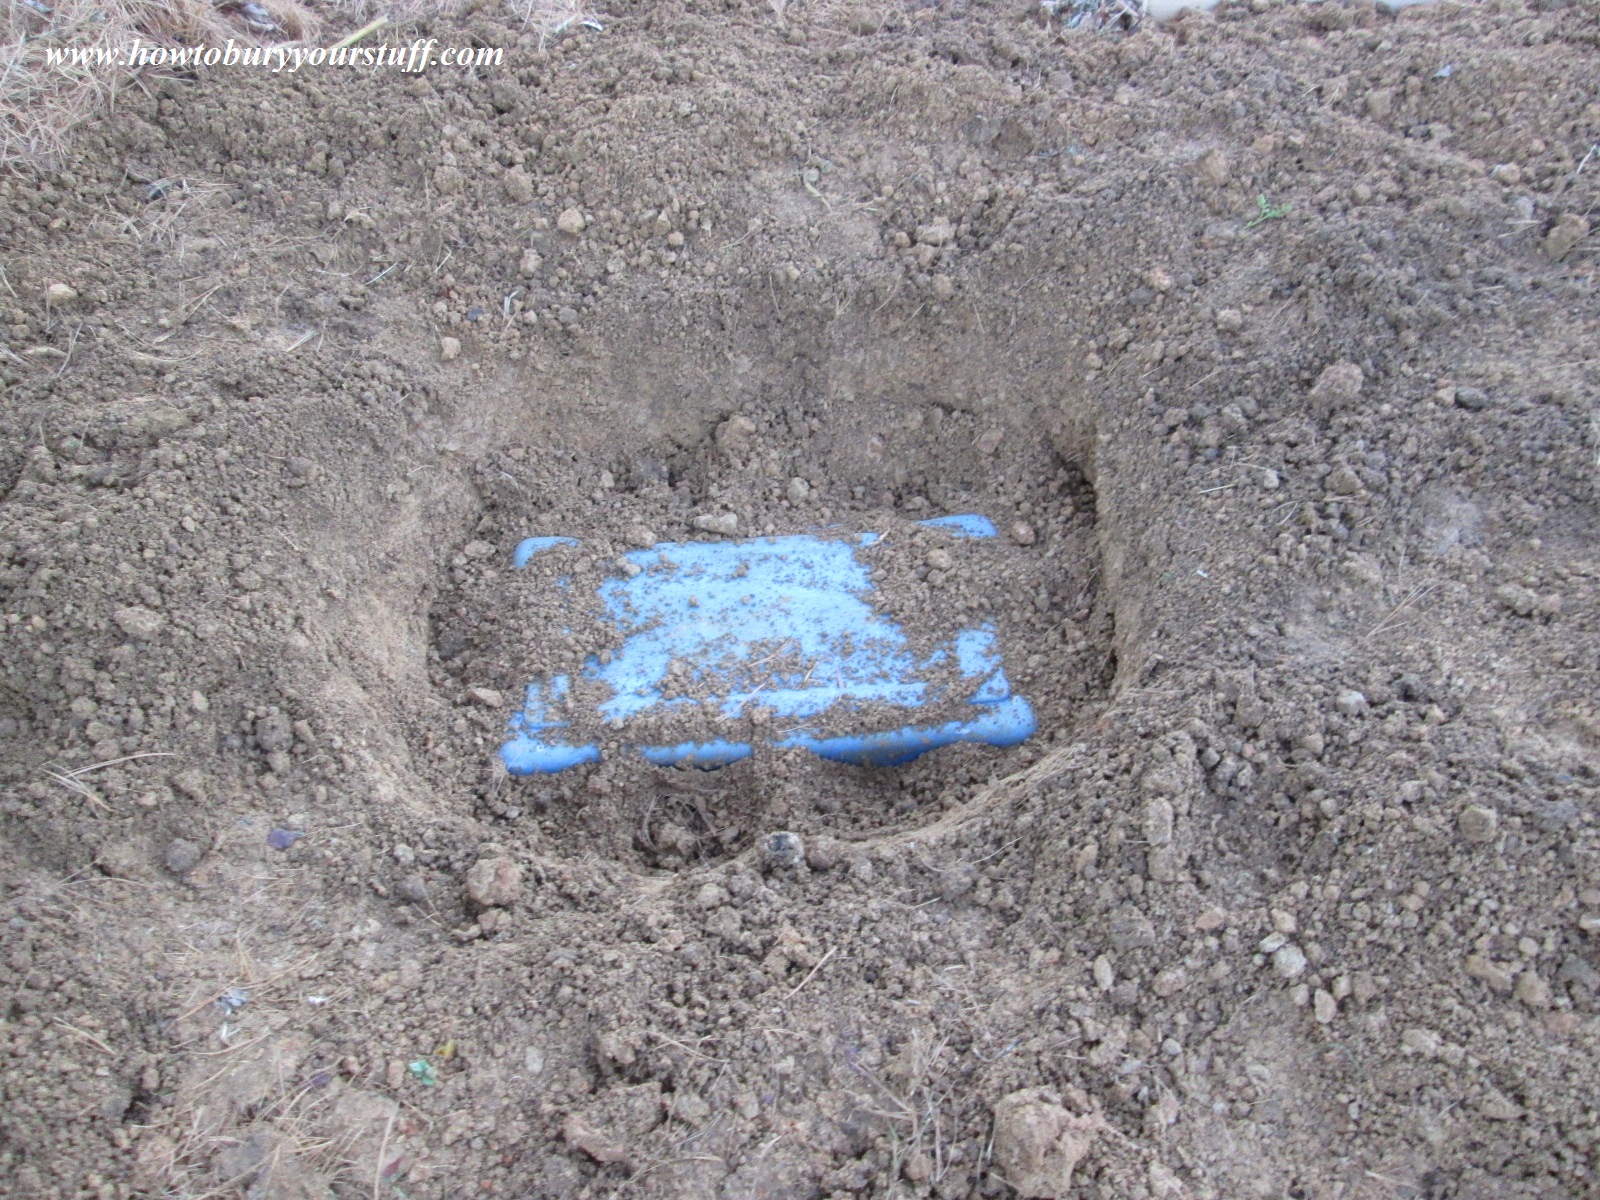
pic 4pic 3After more digging, prying and some tugging, I was able to remove the large tote from its hole and open it up to show exactly what I had done a year ago to protect my new laptop. The photos below show how the cache was arranged before I dug it up and retrieved it. The top of the Bell (bottom of the tote) was about 12 inches down and I used two concrete stepping stones to keep the smaller Sterilite container above any water that might’ve entered the bottom of the cache. As you can see in the following photos, water and dirt did in fact enter the bottom of the Bell. For the record, using the stepping stones was completely unnecessary since the laptop’s clear Sterilite container would float anyway; and yes, I tested it with the laptop in the bathtub last year before I buried it.
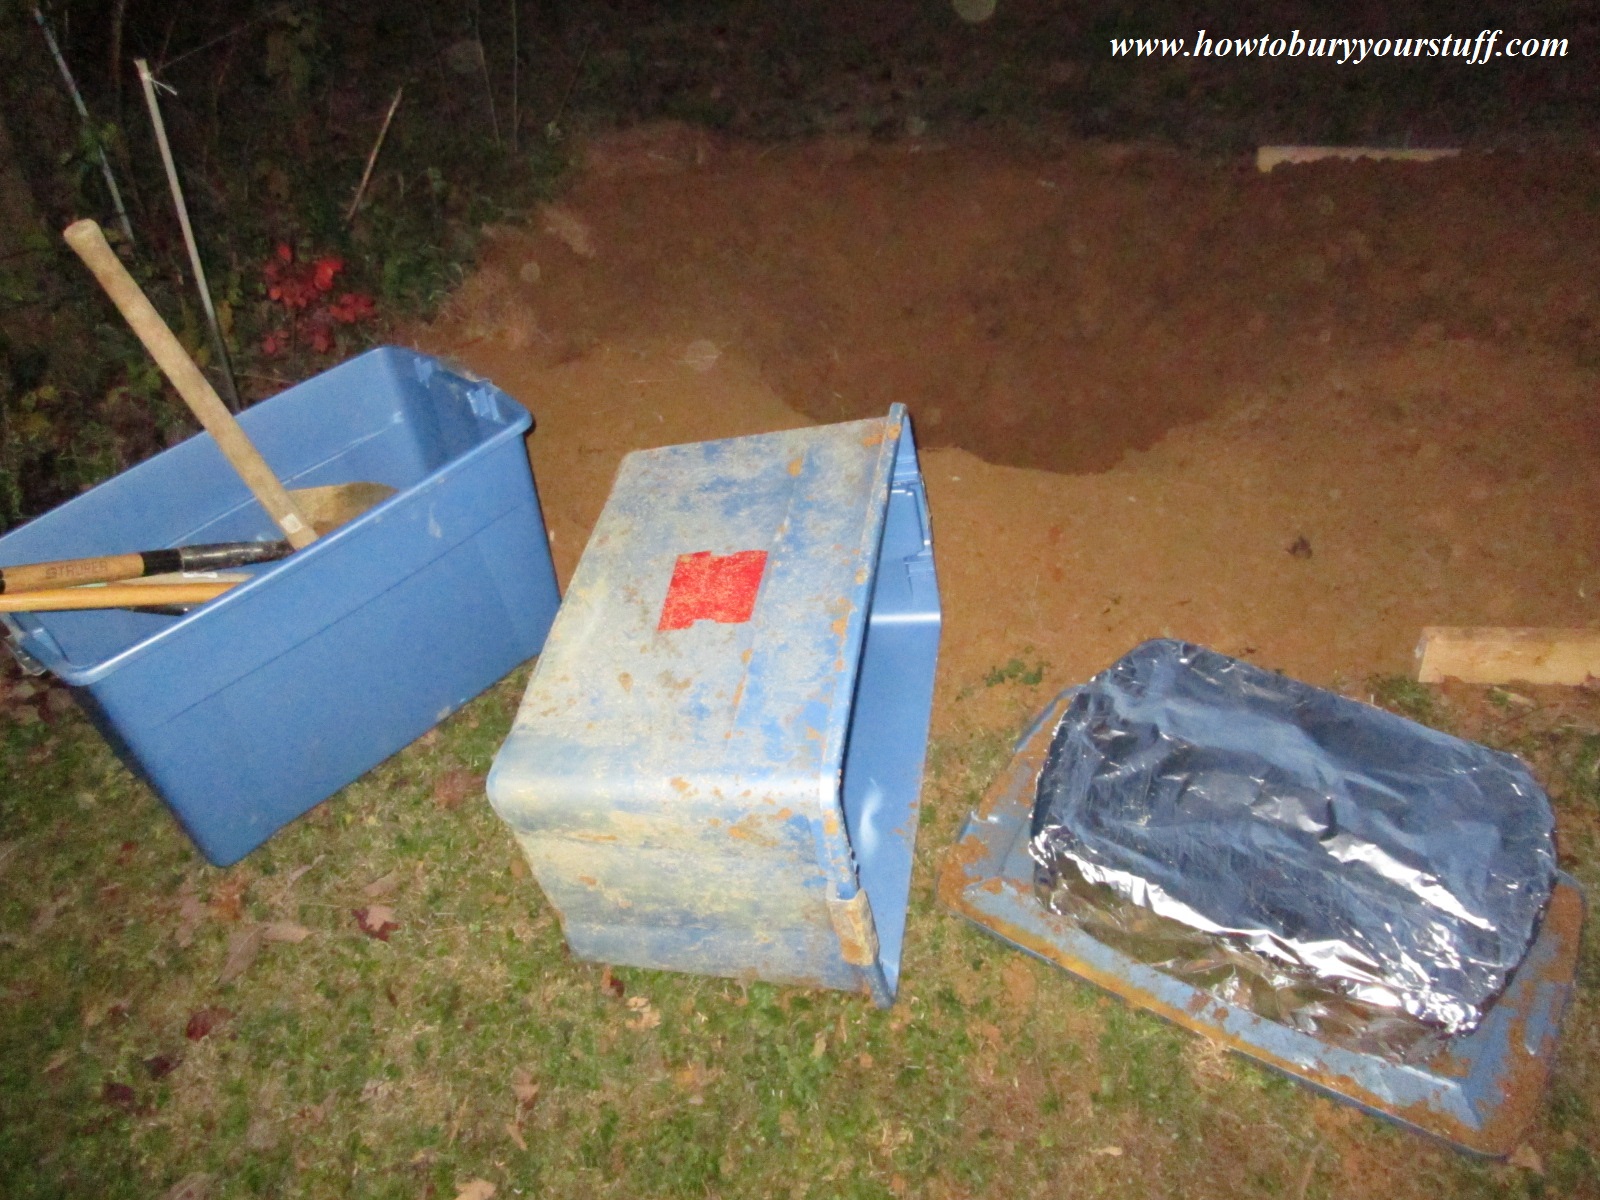
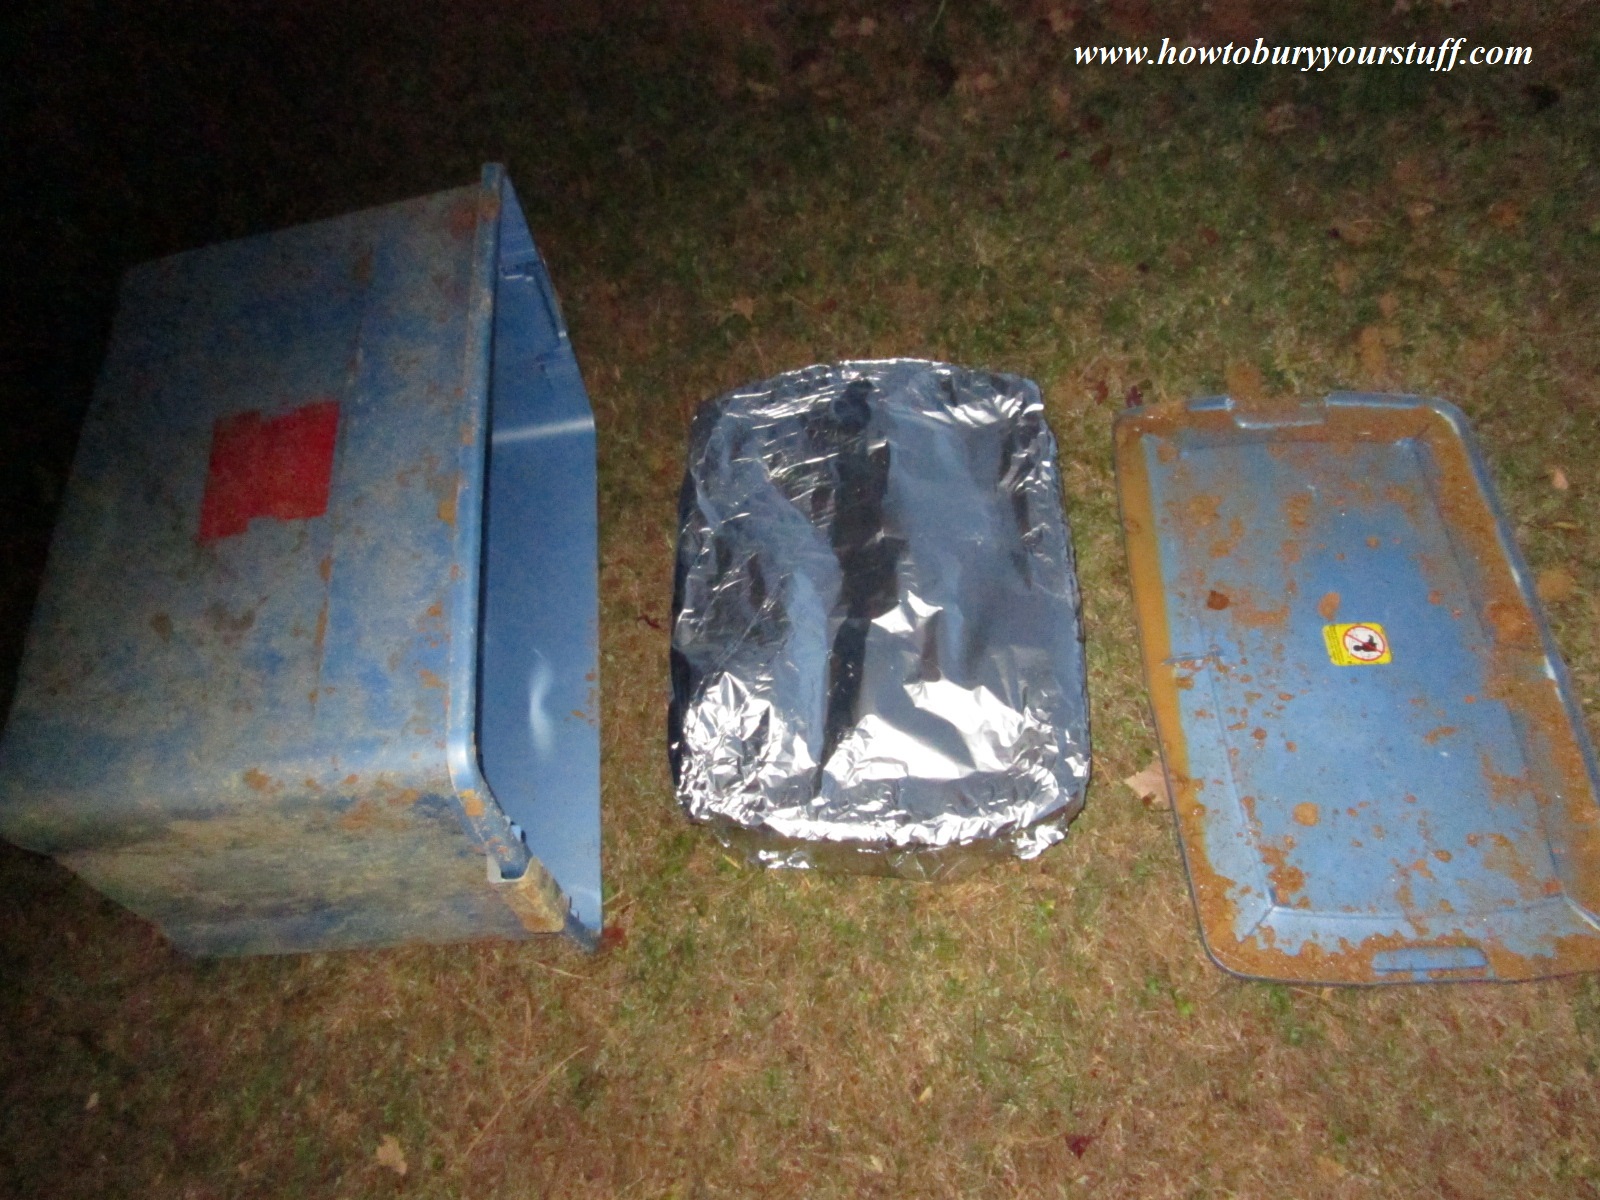
pic 5pic 6The laptop itself was wrapped in bath towels to act as insulation against rapid changes in temperature. The wrapped notebook was then placed inside a smaller Sterilite container which was covered in aluminum foil to help shield against EMP or any other electrical surge. Although aluminum is commonly used by preppers to shield against EMP, I strongly recommend using it in conjunction with copper mesh. Copper is the better conductor and is a better material for the construction of a Faraday Cage.
Once liberating the aluminum-foil-covered Sterilite container from the blue tote, I removed the aluminum foil and carried it inside the house WITHOUT opening it. I placed it on the floor of our spare bedroom for 24hrs to allow for a slow temperature adjustment after bringing it in from the cold. If it can be avoided, never bring electronics, ammunition, documents or firearms into a warm house from cold weather without insulation; the rapid increase in both temperature and humidity will cause condensation to form in places that you don’t want moisture to be. This condensation won’t cause any immediate damage but will eventually shorten the life of your computer, firearm, digital camera, ammunition etc.
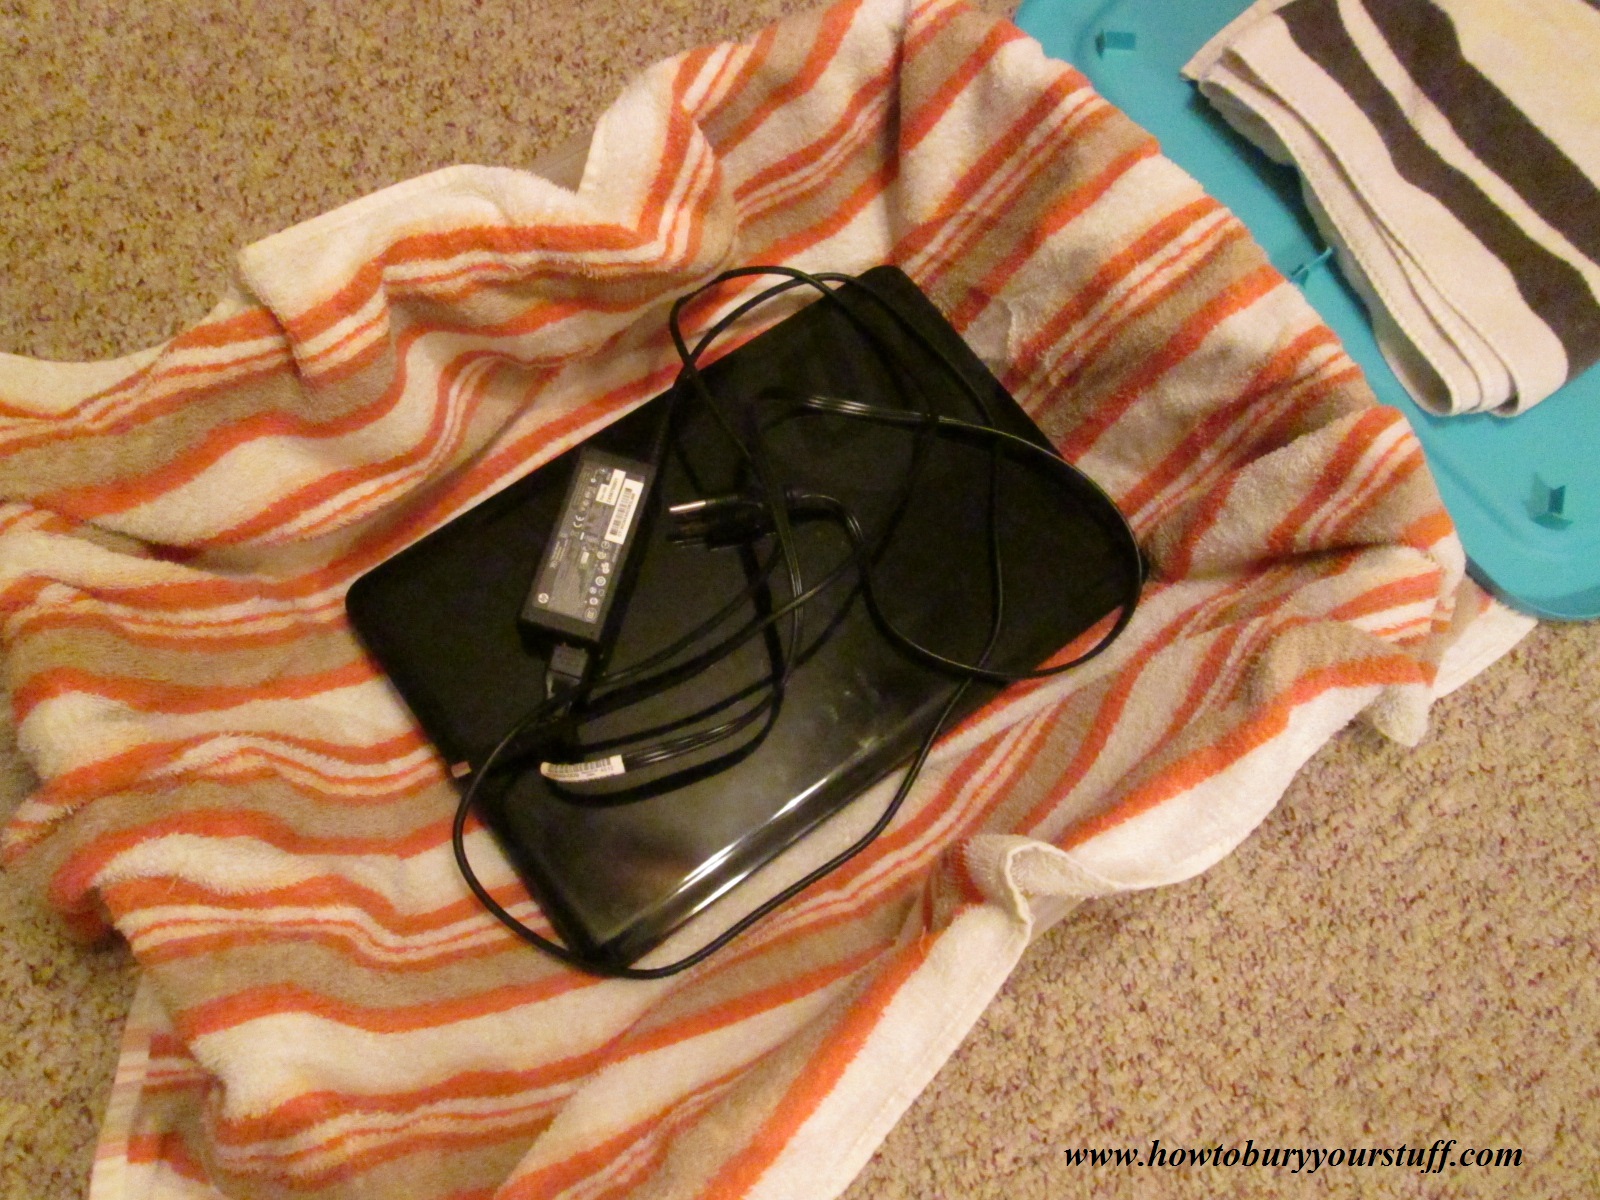
pic 8The following day, (8 Nov) after much anticipation and apprehension, I opened the Sterilite tote, unwrapped the notebook from the bath towels and powered the computer up. The battery was completely dead so I had to plug it into an AC outlet.
pic 9As experienced as I am with caching all sorts of items underground, this was my first involvement with burying an entire computer for an extended period of time. Since I had already mentioned this project on another webpage, I felt a noticeable amount of pressure when I hit the power button. Apprehension quickly gave way to relief when the machine immediately booted just as quickly as it did when I first purchased it. Here’s a photo of the HP with today’s Yahoo’s homepage.

pic 10I transferred several random files around, tested the optical drive, opened Chrome and Firefox then hit up a couple of the more popular websites. The machine functions flawlessly and here’s a photograph of today’s (8 Nov 2013) New York Times webpage.

pic 11My first experience with the Bell Method was placing cassette tapes or books inside Zip-Loc bags and super-gluing them to the bottom of a 5 gallon bucket. I was about 12yrs old and I would bury the buckets upside-down to hide them from my parents; (yeah, I had a weird childhood) and since then, I’ve never had any damage to any of my belongings whenever I used the Bell Method. The Sterilite tote that I used in this project is not air-tight but it is durable and quite handy for all types of things.
I consider this project to be a shining example of how well my Bell Method works. Not only did I NOT use the revered and acclaimed desiccant or silica-gel; I didn’t use any waterproofing techniques including float-bags, silicone sealant, plastic bags, dry-boxes, pelican cases or sealed containers of any kind. In fact with the exception of the bath towels, the laptop was even open to the air. I didn’t purchase anything in order to complete this project, only using things that I found in the house or garage. The key was burying below the frostline and ensuring that I had a one-piece Bell that kept water from running up into my cache. The other important factor was the bath towels wrapped around the machine and the dead air space between the two containers acting as an additional temperature buffer.
The blue tote will have to be thrown away. It’s hard to see in the photos, but one side was caved in a little from the weight of the soil. As I mentioned on one of my other pages, storage totes this large are not ideal for caching underground. In just one year, the soil had packed very tightly and made it difficult to retrieve. In addition, I managed to crack the tote with the mattock while digging it up and then I broke one of the lid latches when pulling it out of the ground. However, it should be noted that my cache was intact before I retrieved it; the damage was the result of my carelessness with the mattock. In retrospect, it would’ve saved me a lot of time and trouble to just cut a hole in the bottom of the blue tote, pulled the Sterilite container through and reburied the broken tote.
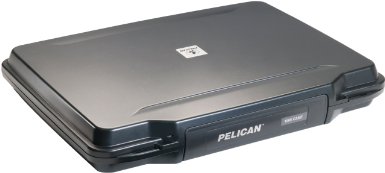
The trade-off of using household products for this experiment did involve digging a massive hole in the ground in order to properly bury the cache. Retrieving it yesterday and then refilling the hole was even more work; I have a sore back that could’ve been prevented with a few investments. Pelican Products makes several cases specifically for laptops and they are well worth it for the convenience. If I ever bury another notebook, I’ll use one of these and save myself a lot of digging.
amazon pelican 1095
These laptop cases are surprisingly affordable and can not only be used for caching underground, but on a daily basis for work or school. I’ve read about people dropping their notebooks while in these cases and reporting no damage to the machine at all.
I think that this project has shown how cheaply and effectively my Bell Method can be used with guns, books, electronics, ammo, documents, medications, laptops, or camping and survival gear. And just for the record, I don’t recommend caching valuable items in your garden or flower bed. Last year, I had to dig quietly at 3:00am in near-total darkness to prevent my neighbors from seeing me bury a huge bright-blue storage tote in our backyard; and I’m sure I got some weird looks yesterday while I was digging it up. Stick to wooded areas.
Well that’s about as detailed of a description as I can give, but should you have any questions, comments or suggestions, please feel free to click on the Contact Me page of this website.

How to bury food

How to Bury Food

Because no one can take what they cannot find
This website is dedicated to the protection of your most precious belongings by providing you with the information necessary for safely caching valuables underground. When one normally hears the term “valuables,” one doesn’t normally think of food. Food is something that the average American takes for granted; most of us have at least a few meals or snacks readily available in our homes. Food can easily be found in grocery stores, restaurants, department stores, gas stations or the vending machines at work. Digging the spare change out of your car’s console can quickly get you a couple cheeseburgers at McD’s or a few Snickers bars from a convenient store. Hunters and fishermen can find food, gardeners can make food and if you really get desperate, you can swing by a friend or family member’s house for a bite to eat.
With the rapid upswing in food prices and inflation, more Americans are turning to hunting, fishing and gardening as a method of easing the grocery bills. Survivalists and preppers are even stockpiling large amounts of food in anticipation of higher prices, food shortages, natural disasters or an economic collapse. Some experts have indeed predicted massive food shortages in the near future and with that in mind, I’ve decided to write a post about caching food underground.
I’ve been burying things underground for about 30 years and I can assure you that caching food anywhere outdoors presents a problem like none other. Smell. Smell is not an issue with guns, gold, knives, photographs, hard drives, blankets, silver, ammunition, vehicle titles, laptops, or camping and survival gear. Animals, any and every animal, has superior olfactory senses and can usually smell food from great distances and through several feet of dirt. Once an animal “catches wind” of food, they will usually stop at nothing to reach it.
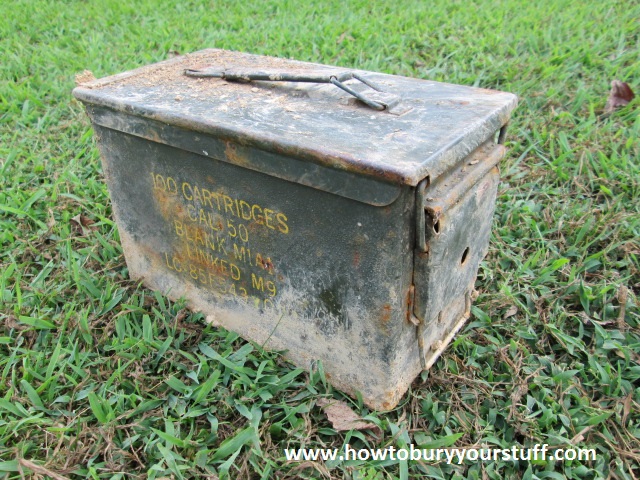
This brings me to two important points about burying food. One; you should cache it inside a steel or aluminum container. The PVC pipe caches that I’m so fond of are worthless because any number of mammals from mice, squirrels, raccoons or coyotes can chew through the rubber endcaps if they smell your food. The same goes for Tupperware or Rubbermaid containers and Lexan dry-boxes. Animals can be relentless and while many preppers do use plastic containers to successfully cache their food, I personally wouldn’t advise it. Depending on how much food you keep in stock will dictate what type of container you use; military surplus ammo cans, old pickup truck toolboxes and steel 55 gallon drums are ideal; provided you keep them from rusting.
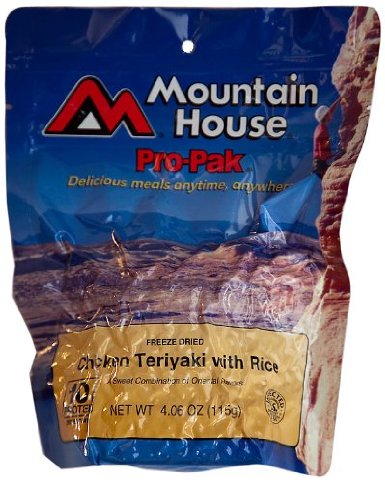
The second important point is that the food needs to be factory sealed inside it’s original container. Don’t open, un-zip or un-seal anything and don’t try to bury any type of jerky or cubed beef steaks; I can even smell that stuff through the package. Dehydrated foods are the best; if I remember correctly, they have a shelf life of 25+ years and have no detectable odor when left in the original packaging. These two qualities make them the number one candidate for long-term underground storage. The photographs below show two examples of a popular brand of dehydrated foods. I’ve personally eaten these, they are filling, tasty and easy to prepare.

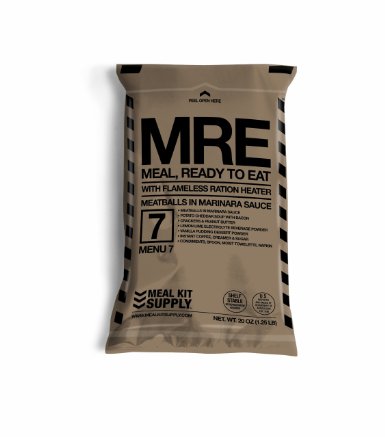
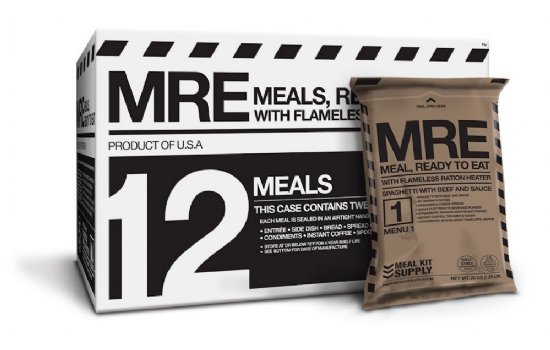
Another good option is military issue MRE’s. They are rated for a 5-year shelf life but I know from personal experience that they remain edible for much longer. Like dehydrated foods, they are not cheap, but they are made and packaged specifically for long term storage. They are also loaded with energy-packing vitamins and nutrients.
There is a third option for burying foods that is just as viable as dehydrated foods and MRE’s; canned foods. Whether you buy canned vegetables and spam from the supermarket or can your own vegetables from the garden; canned foods do not have expiration dates, only “best-if-used-by” dates. Remember that if you’re using glass canning jars, you must bury below the frost line to help prevent breakage or cracking of the glass. If you are storing only metal cans that you bought from the supermarket, feel free to cache them in PVC tubes or plastic drums.
Unless you’re storing dehydrated foods, you’ll want to rotate your stockpile of foods if possible. Always check the seal of a glass jar by making sure the lid isn’t “popped” and don’t eat from a metal can if it’s swollen or bulged out. Pack your glass jars with old bedsheets or bath towels to prevent damage while moving your cache.
I chose “Because no one can take what they cannot find” as a slogan when I started this project simply because in 30 years no one has ever found anything that I’ve buried or helped others bury. But animals are different when it comes to burying food because they can find your cache. As I mentioned before; food smells, and the worst mistake you can make is to underestimate an animal’s sense of smell. If a raccoon for example, smells some beef jerky in a 50 caliber ammo can, he’ll dig it up and drag it away. Just because the raccoon can’t open the ammo can won’t prevent the loss of your food cache. I knew a guy in Tennessee who buried food in ammo cans, then chained and padlocked them to a large tree root before covering them. It’s an unlikely occurrence and an amusing recollection, but something to consider nonetheless.
My last tip would be to suggest placing mothballs inside your can, box or drum with your food; then scattering mothballs in the hole before placing your cache. Mothballs are the greatest thing for repelling any type of creature; insects, reptiles and mammals alike will steer clear for quite some time.

Guide to surplus military issue ammo cans

Guide to Military Surplus Ammo Cans

Because no one can take what they cannot find
One of the most popular methods of caching underground is using military surplus ammo containers. On this page, I’ll be talking about the “old-school” Vietnam-era 5.56mm, 30 caliber, 50 caliber and 20mm ammunition canisters made out of steel. They are rectangular shaped, constructed as a one-piece box with a hinged, removable top with a locking clasp and a handle.
There is one very good reason why these steel ammo cans are popular with survivalists and preppers; and that’s quite simply because they work. They have a rubber seal around the lid and provided that you don’t get one with a bad seal, it won’t leak … ever. For what it’s worth, I’ve messed with dozens of these things over the years and I’ve never even seen one with a bad seal. I always instruct people to check this gasket when purchasing a military surplus ammo can; but even if you buy one with a bad seal, all you would need to do is run a bead of all-purpose silicone over the cracked or dry-rotted seal before closing it. The only time I’ve ever told someone to scrap one was because it was dented so badly that the box itself was deformed. Ensure that the lid closes properly and you’re “good-to-go.” An easy way to check for sure? Dunk the closed can as deep as you can in a swimming pool or stream for about 10 minutes; the whole time shaking and turning it underwater, then check for water on the inside.

Another big plus is the ease of opening and closing, you don’t need tools to open or close them. Just pop the clasp and poof! you’re done, no screwdrivers or grease. Another added benefit is that they are already camouflaged, almost always painted in the traditional olive-drab matte green that is truly difficult to spot in the brush. The paint is tough and although they will eventually rust, you can take comfort in the fact that military-grade ammo cans take a very, very long time to rust all the way through.
Military Surplus Ammo CanThe above photograph shows a 50 caliber box that was recently excavated after being undisturbed 24 inches underground for 4 years. A friend of mine used it to store a Sig model 229 with 300 rounds of Federal 40 caliber JHP. He didn’t use desiccant and since the gun was undamaged and the bullets fired just fine, I’ll assume that this is a “good” can and show you how to restore it. The little bit of surface rust that you can observe in the photo is perfectly normal and nothing to worry about, there is only slight pitting in the metal and my friend could’ve left the ammo can underground for another 4 years with nothing to worry about.
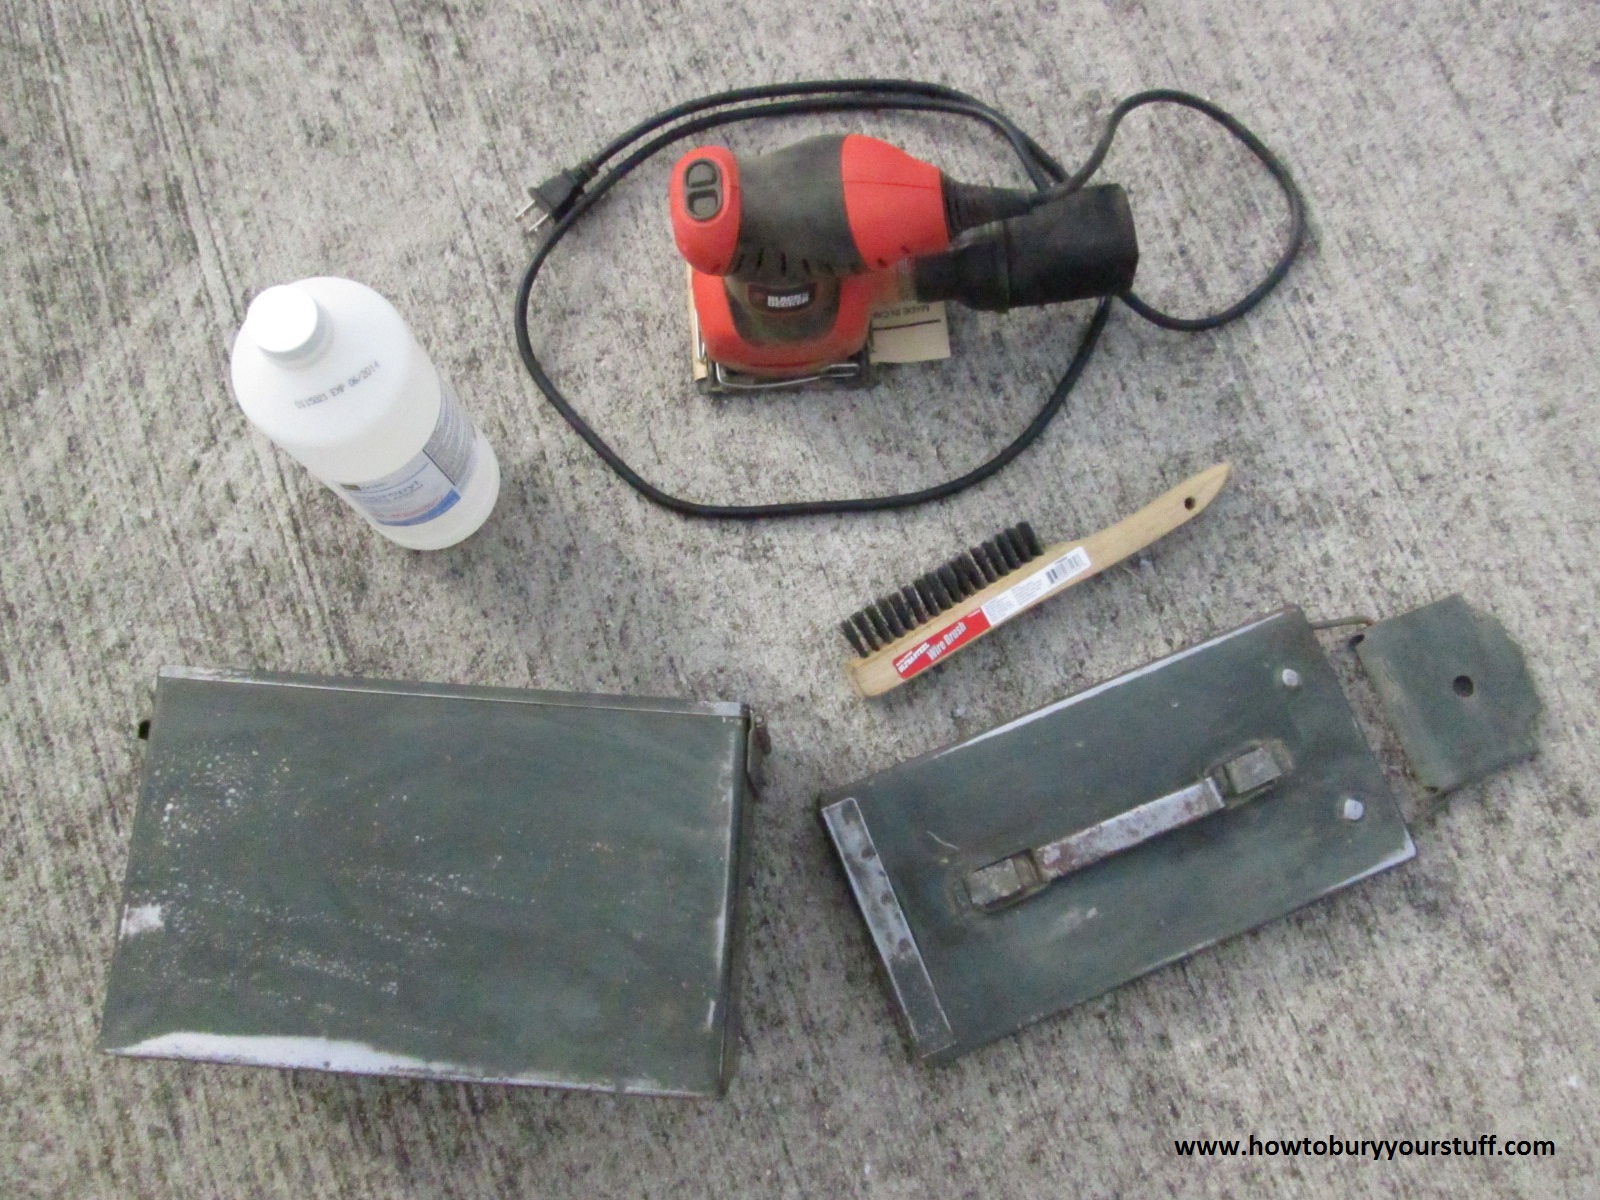
Although I mentioned that a little rust won’t hurt, I’m more than a bit “meticulous” when it comes to caching. My friend replaced this box with a newer one, reburied his Sig and gave me this ammo can; and I want it in the absolute best possible condition should I decide to use it. So here we go … you’re gonna want a wire brush (the longer the bristles, the better) some sandpaper and some isopropyl alcohol.
Remove the lid from the box and scrape all the outside surfaces. You will want to use the wire brush to dig as deep as possible into any pits or crevices. Sandpaper is fine for the flat surfaces as long as you remove as much rust as possible from each and every part of the box and lid. When you’re done, use the rubbing alcohol and a couple of clean rags to remove every bit of dirt, dust and grit.
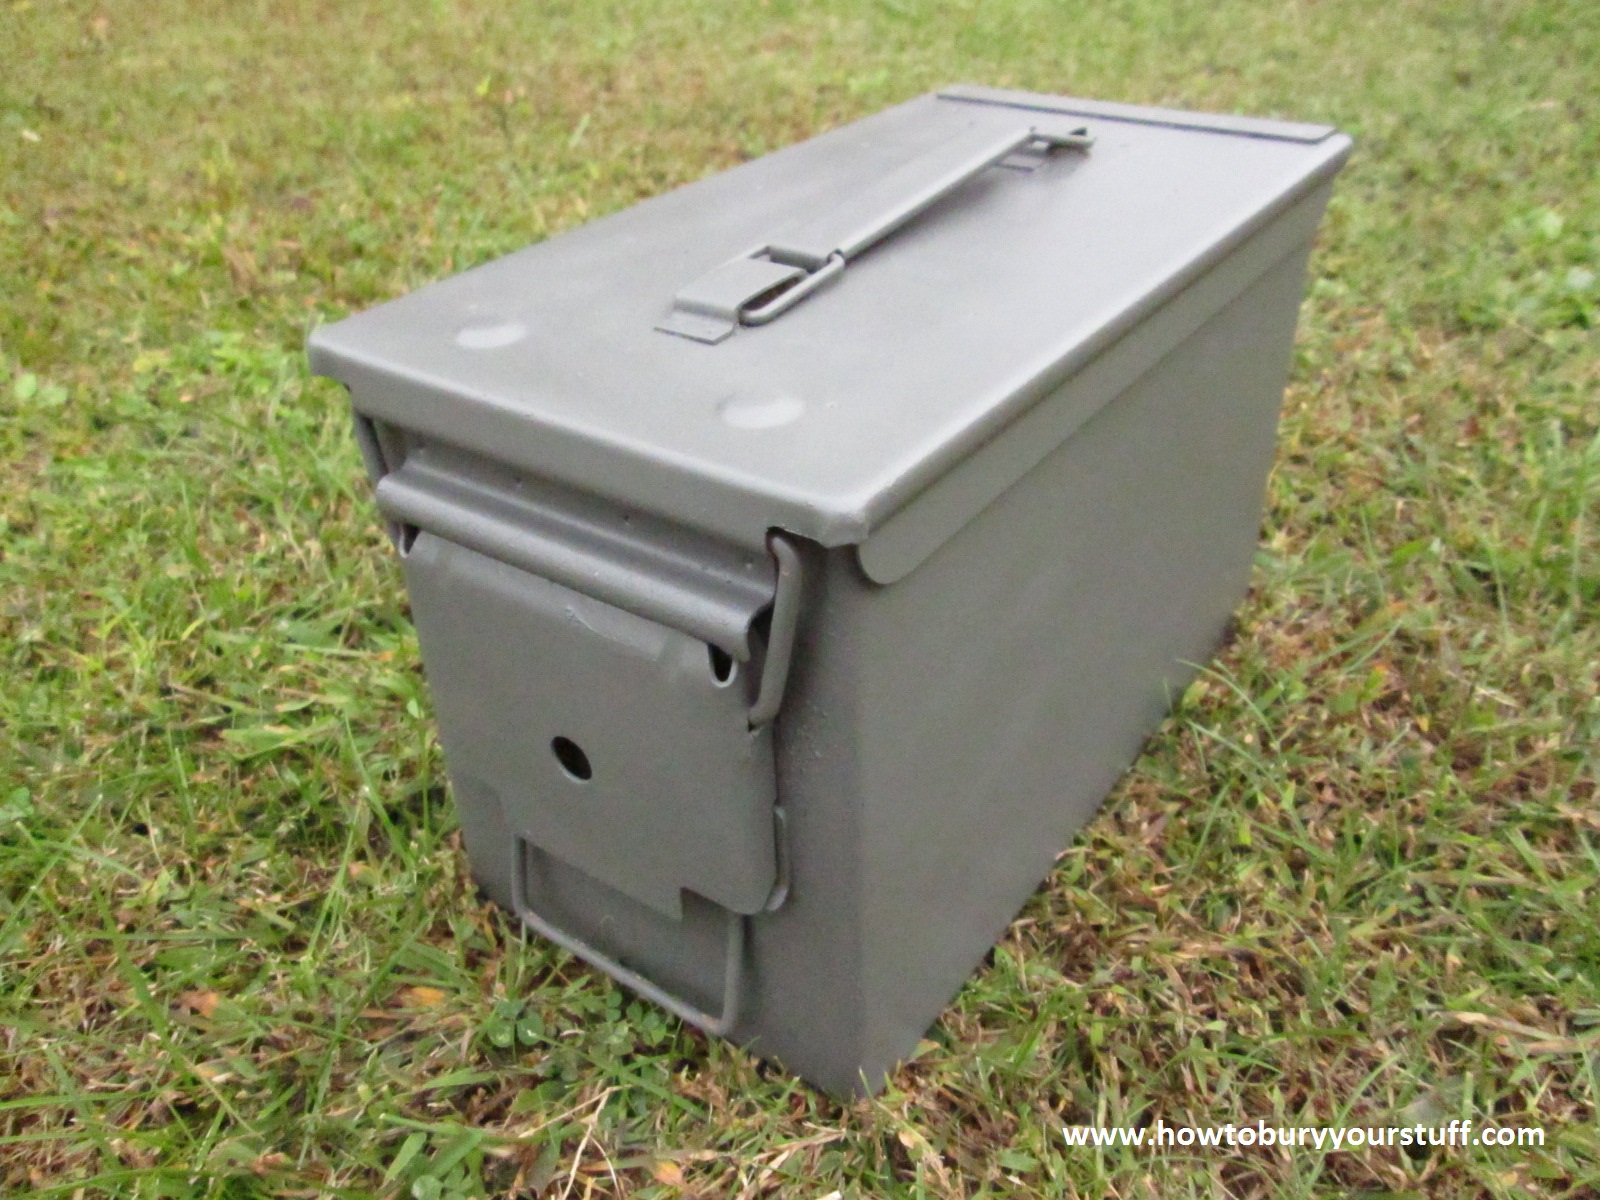
Military Surplus Ammo CanAfter you’ve successfully cleaned your ammo can, you’ll want to paint it. Spray primer on it first if you want, but in my experience the spray paint primers don’t stick any better than the paint itself. For this ammo box, I picked out a can of Rust-Oleum textured enamel in flat pewter. I can’t tell you how many coats of paint I sprayed but I used more than half the can of paint.
I put a couple extra coats of paint on the bottom of the box and all the way around the bottom about an inch up all four sides. If you’ll scroll back up to the first photograph of this box, you’ll see an extra layer of caked-up mud and rust along the bottom of the ammo can. This is the result of a plastic “bell” that my friend used when he cached it four years ago. I’ll explain in more detail shortly.
Military Surplus Ammo CanWell here’s my finished product. I removed as much rust as was possible, thoroughly cleaned it and I feel pretty confident about the paint job. My next step was to rummage through the garage and find a tarpaulin; the tarp itself is in good condition except most of the grommets are ripped out. I laid my freshly painted ammo can upside-down in the middle of the tarp and cut a rectangular section out of the tarp.
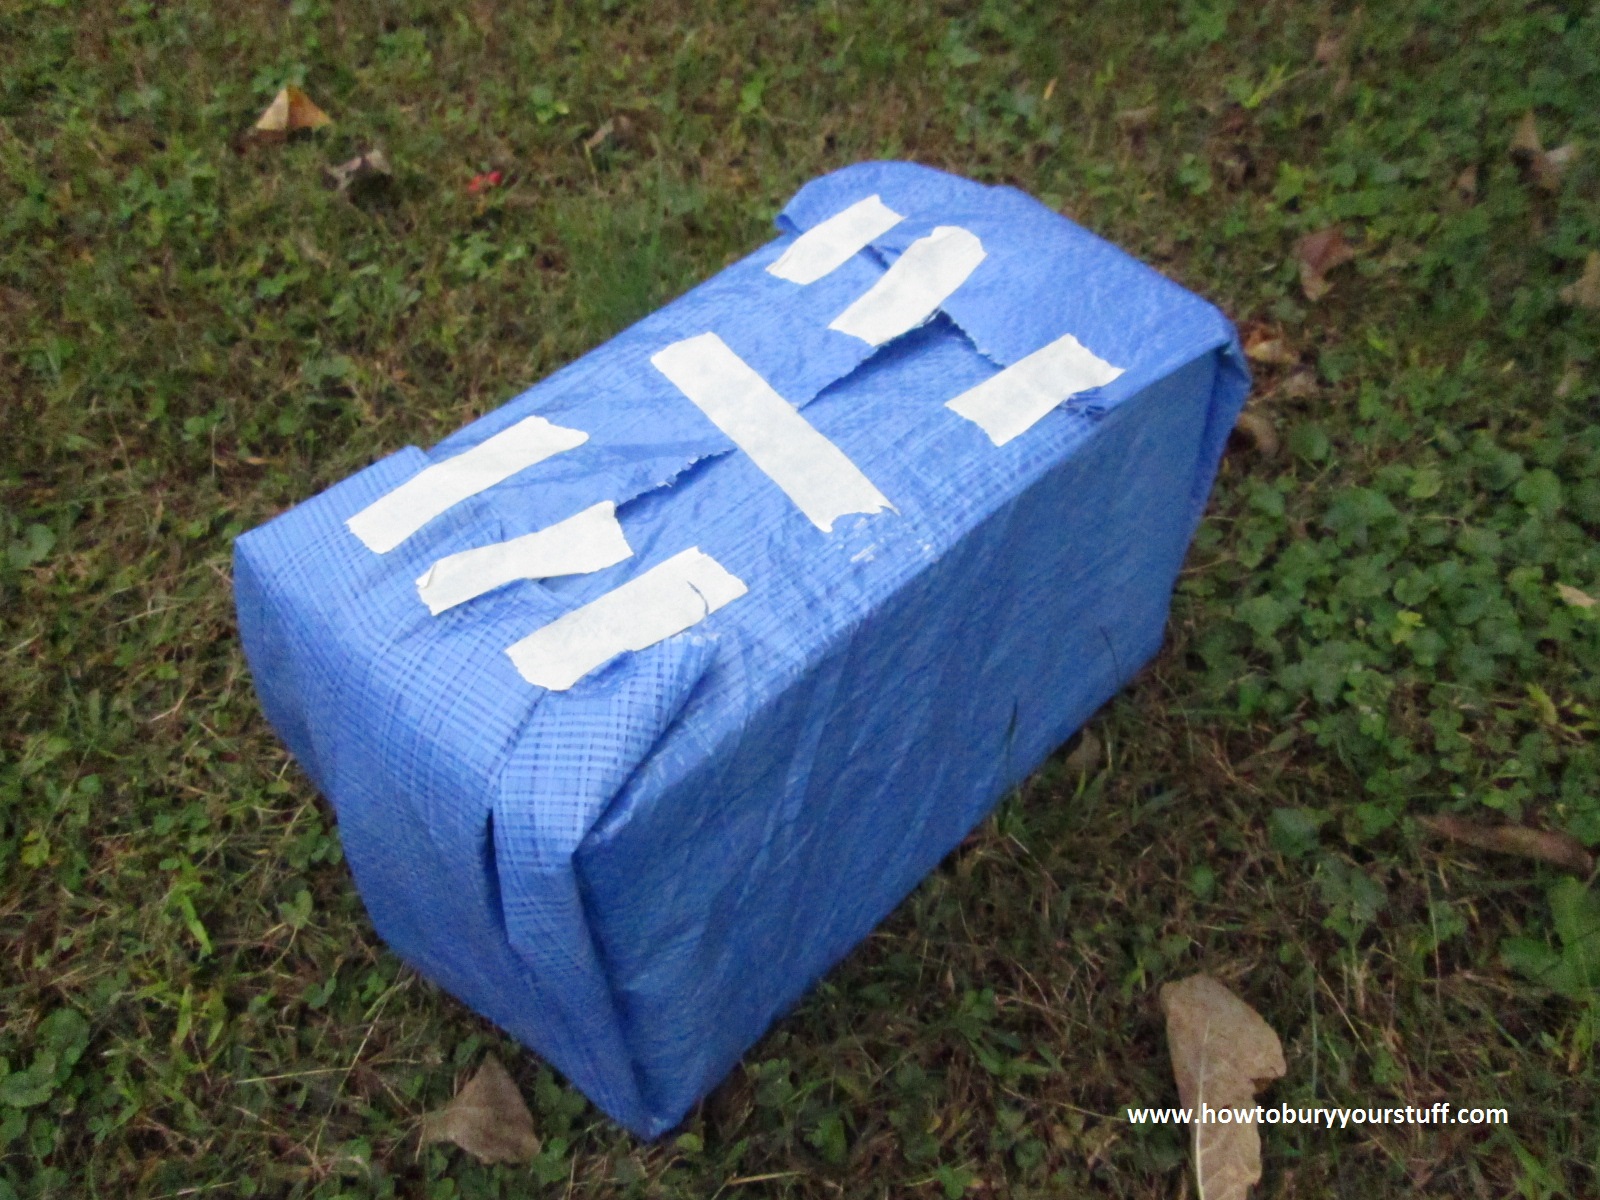
The rectangular section is trimmed down so as to allow me to wrap the ammo can in such a way as to create a bell shaped cover for the box; leaving only the bottom of the box open. If you haven’t read it yet, I recommend my web page entitled “How to Bury; 5 Methods” as it explains my Bell Method a little more thoroughly.
Military Surplus Ammo CanPlease take note that in this photo, the ammo can is upside-down and the masking tape that you see is on the bottom of the box. I’ve already cut a second rectangular section (identical in size to the first) out of the tarp and wrapped it in the exact same manner (with the tape on the bottom of the box); making a two-layered bell to keep the ammo can dry. Note that I’ve wrapped it so that the only openings in the tarps are on the bottom of the box.
When you bury your surplus ammo can “right-side-up,” the openings in the tarp with the masking tape will be on the bottom. The weight of the soil will keep the tarps in place and since it’s impossible for water to flow uphill, your ammo can will stay dry until the tarps rot enough to leak. In my experience, two layers of a typical tarp like this one from Wal-Mart, should keep most of your box dry for the first 1-4 years. (depending on climate, annual rainfall and depth)
Military Surplus Ammo CanMy friend used garbage bags when he cached his Sig four years ago and they rotted quickly; this is why you can clearly see a ring of rust and mud around the bottom of the ammo can in the first pic. This is also why I put extra coats of paint on the bottom, because the bottom of the box will get a little wetter. An alternative would be to use an upside-down Tupperware container or a junked vehicle’s fuel tank as a bell but that means more work by digging a bigger hole.
I might also note that making a “bell” to keep your ammo can dry is only for long term storage and might be a little extreme. A lot of preppers don’t cover their military surplus ammo cans with anything; they just drop them in a hole and cover with dirt. There’s nothing wrong with this method. As I mentioned before, these cans are water-tight and they take many years to rust. Just off-hand as I’m typing this, I can’t ever remember hearing about anyone losing anything that they put in them.
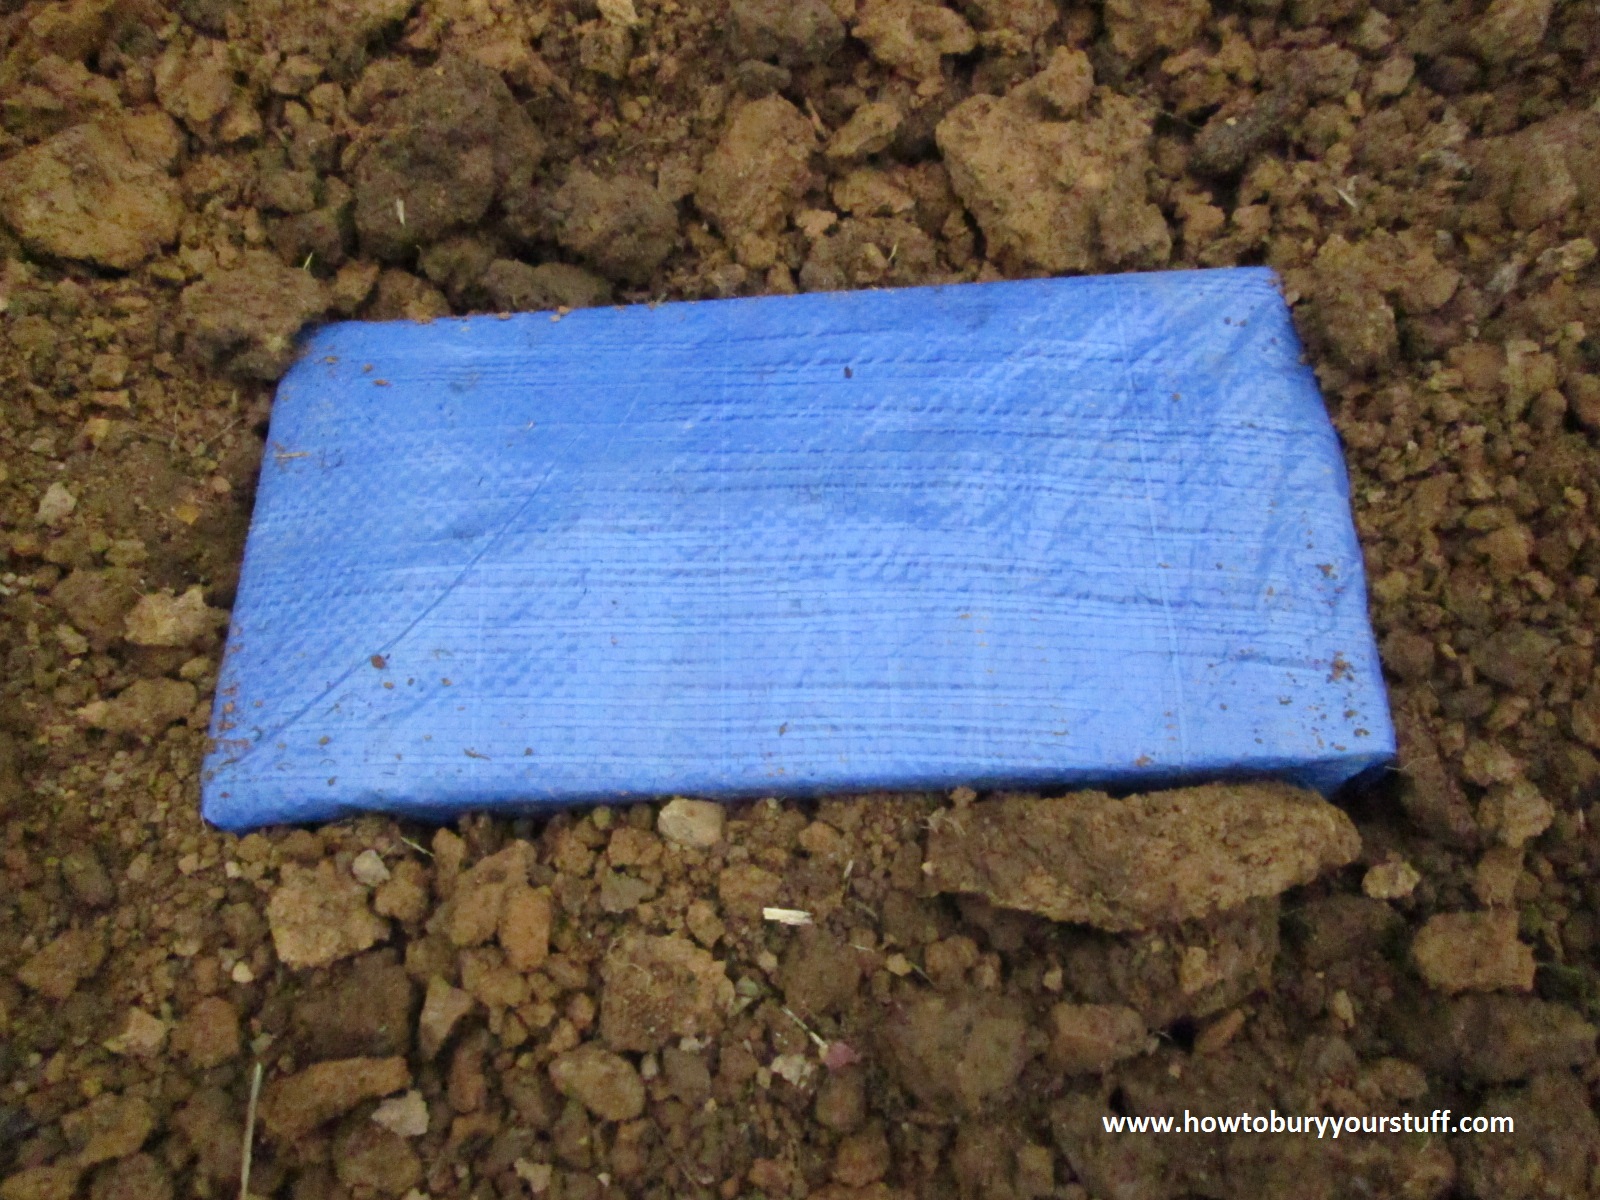
Military Surplus Ammo CanHere’s what it would look like going in the ground. I’m not actually burying this can so you’ll have to imagine caching it a little deeper. In this photo, the top of the ammo can is about 8 inches below the surface. I just dug this hole as a demonstration, I would triple that depth to about 24 inches if this cache was staying in the ground. The frost line here is 15 inches but that varies, you’d have to research the frost line for your location.
That’s just about everything you need to know about military-grade surplus ammunition canisters. Don’t be afraid to buy one that’s a little beat-up; if it’s got a little rust or a few small dents that’s perfectly normal. Every ammo can that I’ve ever used or seen anyone else use looked just like the first photo on this page and it’s just hard to go wrong with them.
You can use these cans to safely bury anything that will fit inside them; handguns, hard drives, ammunition or valuable documents. I recommend them to everyone because they are affordable, quick and because they do their job quite well.

How to bury fuel

Underground Fuel Storage

Because no one can take what they cannot find
Do you consider it paranoid to bury fuel? Unleaded gasoline and diesel theft are already quite common in every small town and every big city in the world. It’s not quite as common as retail theft but as the oil prices worldwide slowly rise, so does fuel theft. What do you think would happen to fuel theft statistics and crimes involving petroleum products in the event of an economic crash, natural disaster or any other event that could disrupt the oil industry? A single gallon of lamp oil or kerosene could fetch a hefty price many times it’s current value.
Want a tip for the long term storage of fuel? Gasoline is a perishable product and most preppers will agree that it’s preferable to use generators, lanterns and heaters that run from kerosene, diesel, lamp oil or even peanut oil because they degrade much more slowly. If you insist on stockpiling gasoline, it’s critical that you rotate it out with fresh product and caching underground may not be feasible. When storing liquid fuels, gasoline in particular, it’s important to completely fill your fuel jugs and tanks all the way up in order to remove as much air as possible. Here’s why…
Take an empty 20 ounce Coca-Cola bottle, rinse and dry it out completely. Screw the lid on tight and alternate placing the empty bottle in the freezer, then outside on a hot summer day and back in the freezer again. Sooner or later, if you continue to do this, moisture will start appearing on the inside of the bottle. This is the exact same thing that can happen to all of your fuel cans and gas tanks.
Have you ever tried starting a car that has just been parked in a garage or a field for a year or more? Even if there’s nothing wrong with the engine, it will more than likely smoke a little and won’t run very smoothly at first. This is due (in part) to the water that has condensed on the inside of the vehicle’s fuel tank. The daily rise and fall of the outside air temperature in response to the repeated transition from day to night slowly causes moisture to form and mix with the gas. A completely full tank of gas will last longer.
It’s as critical to provide temperature insulation for your liquid fuels as it is your electronic circuit boards, ammunition cartridges, medication bottles, documents and firearms. If you are uncomfortable storing flammable liquids in your home or other temperature controlled building, then one might consider burying them. Caching fuel underground; especially below the frost line, will help protect it from both moisture condensation and thieves or looters should any “chaotic” events occur.
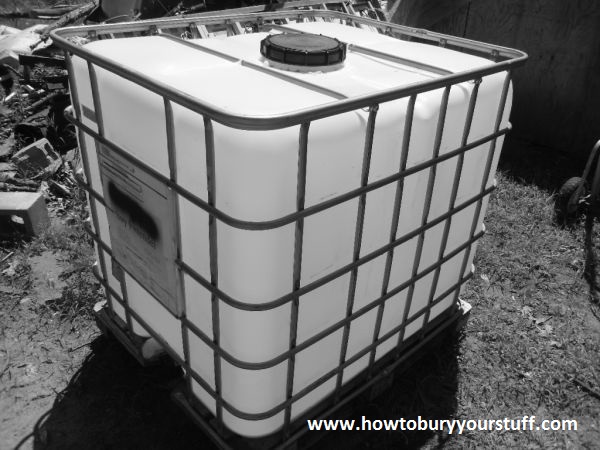
fuel storage tank If you are serious about burying fuel, then you’ll need to be serious about the container you’re placing it in. The above photograph shows a common and easy-to-find 264 gallon fuel tote. They are commonly found on farms or around factories and a used or discarded one will be affordable for almost anyone. You’ll need to clean it out thoroughly and check it for leaks or damage just as thoroughly. These totes are perfect for storing diesel or kerosene and the only disadvantages to them are that sunlight degrades the plastic (if you leave it outside, cover it) and you may need to consider something bigger than a shovel if you intend to bury one of them.
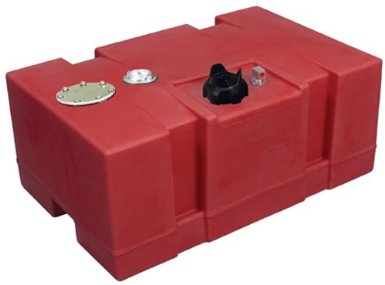
Fifty-five gallon drums are also an option but if you are burying them they NEED to be plastic or galvanized steel to ensure against rust. They are easier to handle and probably easier to find. As with the 264 gallon totes, all one would require is a small hand-operated pump and you’re in business. if you are burying a galvanized steel drum, check for scratches or gouging in the paint and repair if necessary, as this is where rust would begin. Another option would be marine grade fuel tanks such as this Moeller 25 gallon tank.
Moeller Marine 25gal
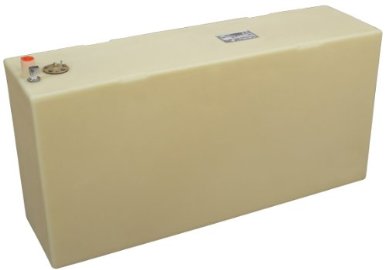
 …or this Moeller 50 gallon model. Moeller has an excellent reputation for quality and one can find strong recommendations from any number of sources.
 Moeller Marine 50gal
I felt that I should mention that none of this is a consideration with pressurized LP gas, or propane as it’s more commonly known. Propane is just that, propane. Whether you buy a small canister of propane for a lantern or a large tank for your home’s central heating system there is nothing else inside the can or tank. There is no air and thus no moisture. You can go to your local Wal-Mart, purchase a dozen cans of Coleman brand propane, stick them in the corner of your garage, leave them for 30 years and the propane will burn just the same as it would have on the very day that you bought it. Bear in mind though that propane tanks will rust and that if you cache them underground, you must take every precaution to ensure that they stay dry.
Last but certainly not least, I also felt as though I should mention the possible legalities involving the underground burial of hazardous materials. Every individual is responsible for checking with his/her local, state, provincial and federal authorities regarding the regulations concerning the underground caching of petroleum-based liquid fuels and compliance with these laws is paramount. Even if this is legal in your location, and even if you are properly licensed to store fuel either above ground or underground; any leakage of petroleum products is your responsibility. No matter what country or part of the world you live in; this will probably include clean-up costs, civil penalties including fines and criminal charges involving negligence.
Obeying any relevant laws or regulations ensures both the safety of the environment and the safety of your precious fuels. Filling any type of fuel container these days is never cheap so you’ll want to be downright meticulous is choosing and placing a container.

Tricks and Tips for caching

Tricks and Tips for Caching

Because no one can take what they cannot find
I’ve put together this webpage to share a few little tricks that I’ve learned over the years. It’s a little haphazard and disorganized but I’m hopeful that this page might save you some time, money or frustration.
Don’t underestimate good old-fashioned Zip-Loc brand (not generic or any other brand but ZIP-LOC brand double-zipper) baggies in either quart or gallon size. These things are great; cheap and totally watertight.
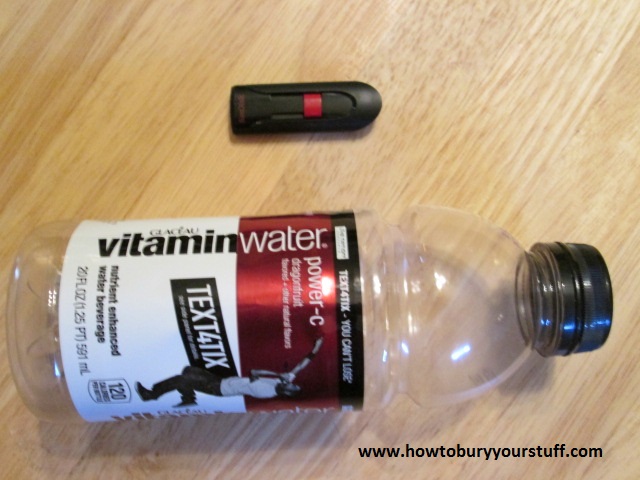
10 ziploc.doublezipJust burying a single flashdrive or a few pieces of jewelry? Use the simplest version of my Bell Method. Take a Vitamin Water bottle like this one that I found in the corner of my garage.
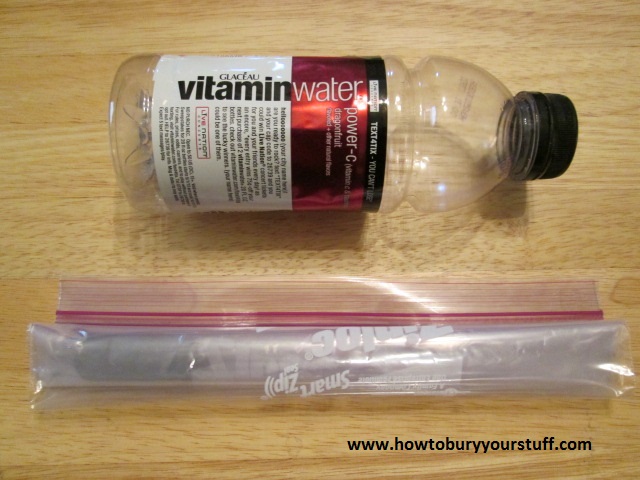
10 bottle and flashdriveDrop your flashdrive into a Zip-Loc baggie, seal it and then drop that baggie into another one. Leave just enough air so that the flashdrive would float and slip it into the bottle.
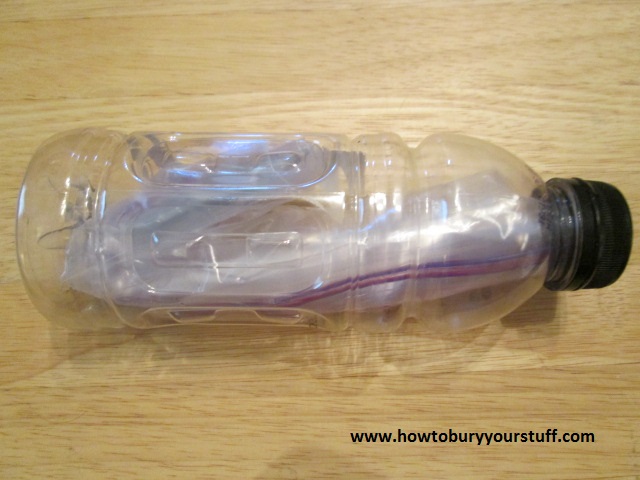
10 bottle, flashdrive, two ziplocsScrew the cap on firmly, bury the bottle upside down and boom! Just like that, you’ll have a cache that will last remain secure for many years. A bottle this size should be good-to-go for a depth of no more than 24 inches, any deeper and the weight of the dirt could crush it. Be sure to bury it upside down so if the cap does leak, water still won’t get in. Need to shield it from EMP?…just wrap it in aluminum foil or copper mesh; FYI the copper mesh is best since it’s the better conductor. Total cost is probably less than 5 bucks, it requires no tools and it will protect your flashdrive for many years.
10 bottle, flashdrive completeYou can see by the last photo, that the flashdrive itself is lodged near the bottom of the bottle. This is ideal since the Vitamin Water bottler will be upside-down, placing the usb drive near the top of the bell.
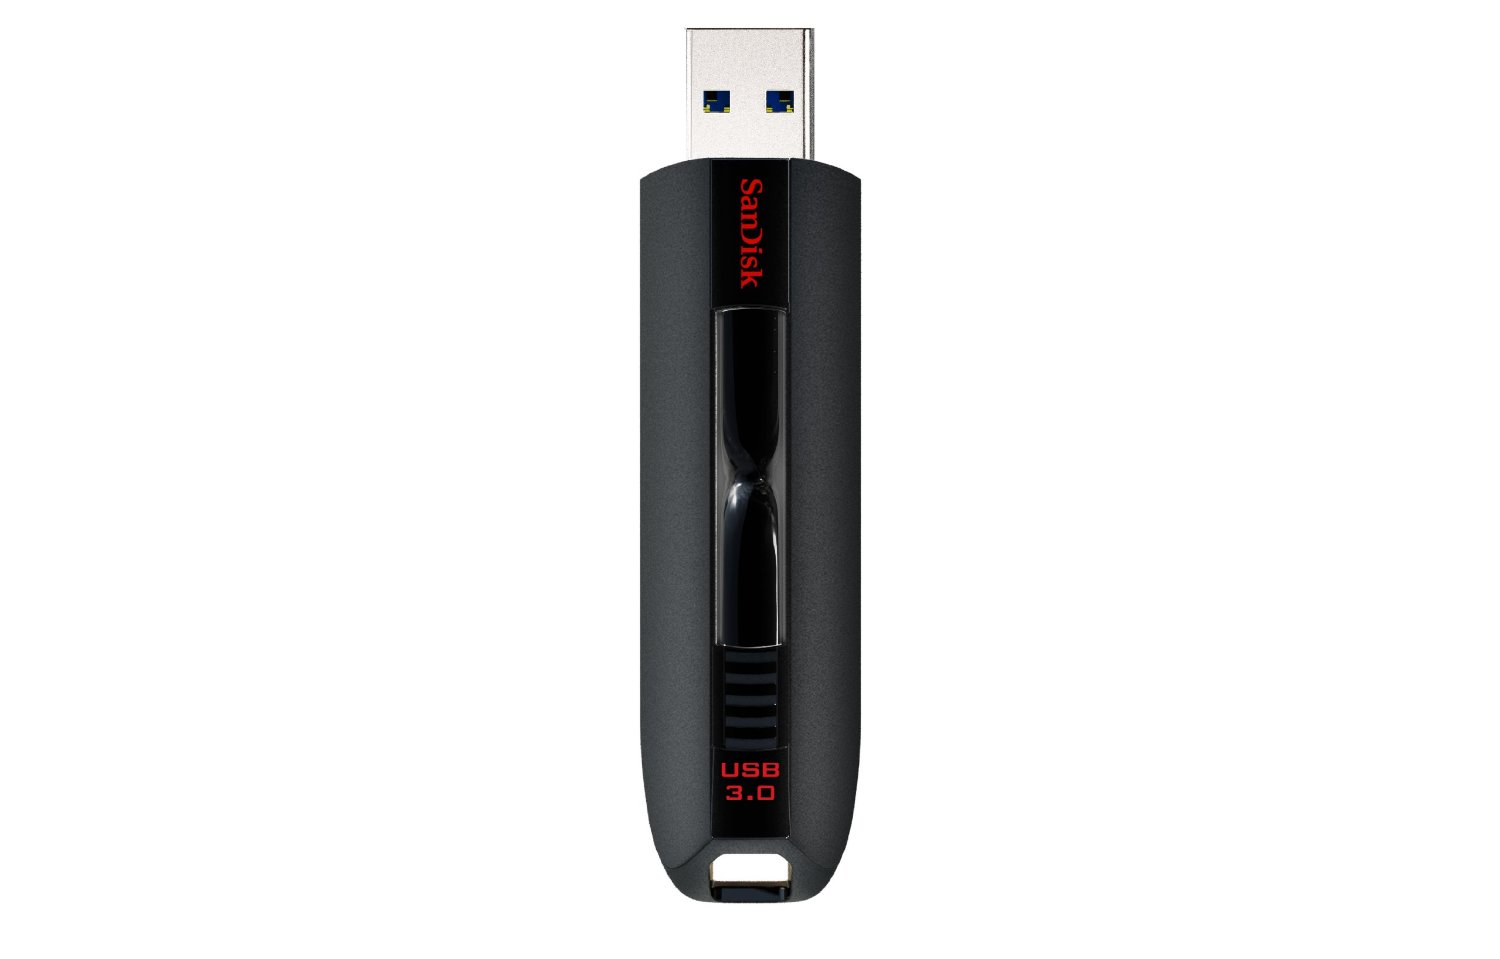
SanDisk makes a model called the “Extreme” and it has solid reviews for both reliability and durability.

When using plastic drinking bottles to cache your valuables underground, do NOT use clouded plastic containers like milk jugs. Liquids like milk and motor oil are usually bottled in HDPE marked as #2 on the SPI recycling label. This label is located on the bottom of every plastic container; it has 3 arrows in the shape of a triangle and usually says, “Please recycle.” Drinking containers and small bottles made from HDPE plastics will crack, split and break apart very quickly (within a year). Stick with clear plastics; PET/PETE or #1 on the SPI recycling label…
10 spi recycle code…and remember that this rule applies only to drinking containers like milk jugs. I believe most 5-gallon buckets are HDPE or #2 on the SPI recycling label and I’ve used plenty of them over the years; when using Tupperware or Rubbermaid type products, look for a #5 on the SPI label.
If you are looking to safeguard important photographs or documents, just bury them in your yard for convenience. Remove any staples or paper clips and use only plastics to cache them. Without any metals present, they would be virtually invisible to most technology. You could actually tell your neighbors that you had valuable documents buried in your garden or flower bed; and anything short of ground penetrating radar would be useless in locating them.
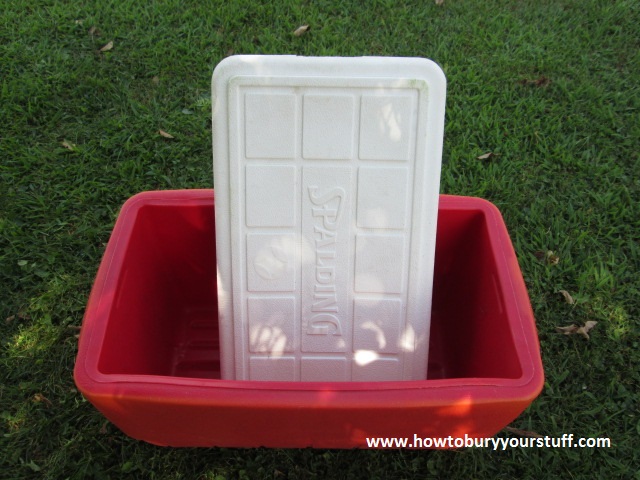
I rummaged through my garage today and found several items worth mentioning. I found an old cooler with a lid and it’s just perfect for depths of up to about 3 or 4 feet.
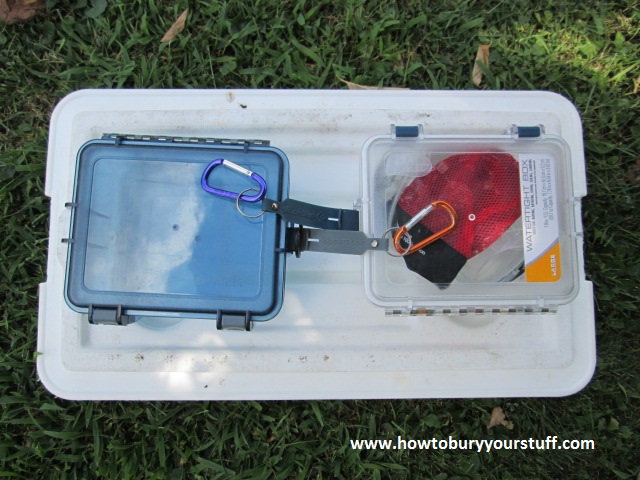
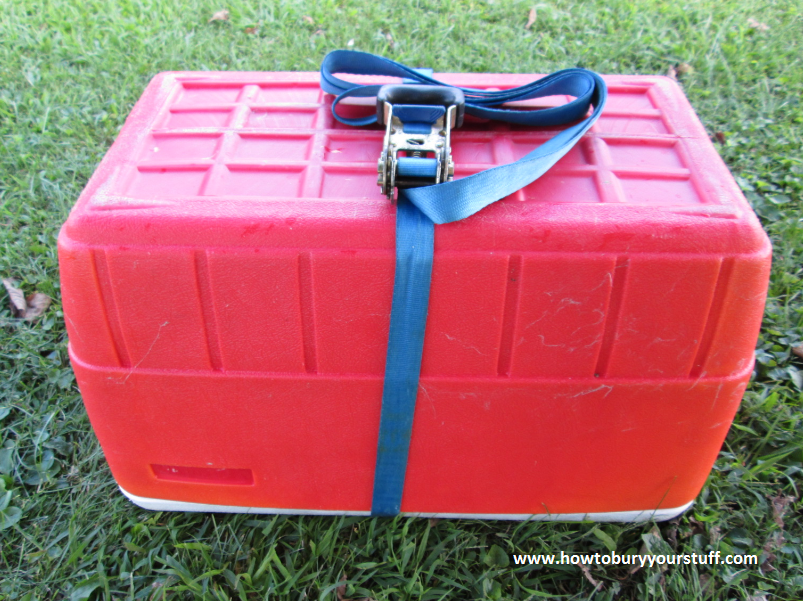
10 coolerBury it upside-down and make sure you bury it with the lid. Without the lid, the weight of overhead soil will slowly push it deeper, displacing precious air. Place your valuables in waterproof containers on the lid of the cooler. If the cooler does not remain level, it won’t matter at all because any water entering along the bottom will just make these two Outdoor Products dry boxes float.
10 cooler lid
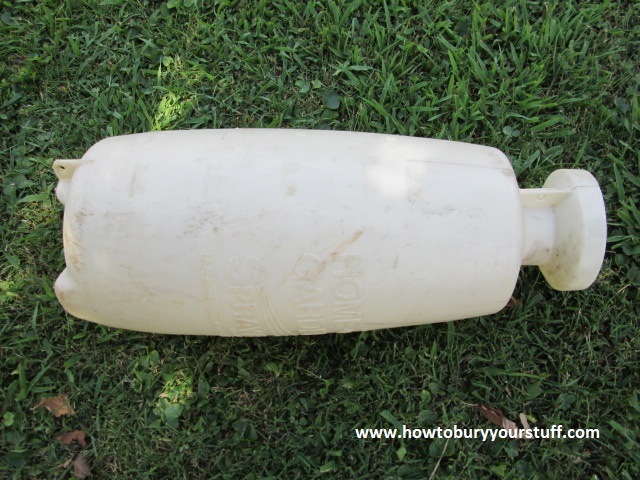
10 cooler, packedI also found an old garden spray bottle with a broken nozzle. Instead of throwing it away, one could roll up documents, jewelry or flashdrives in Zip-Loc’s and bury it upside-down using my Bell Method.
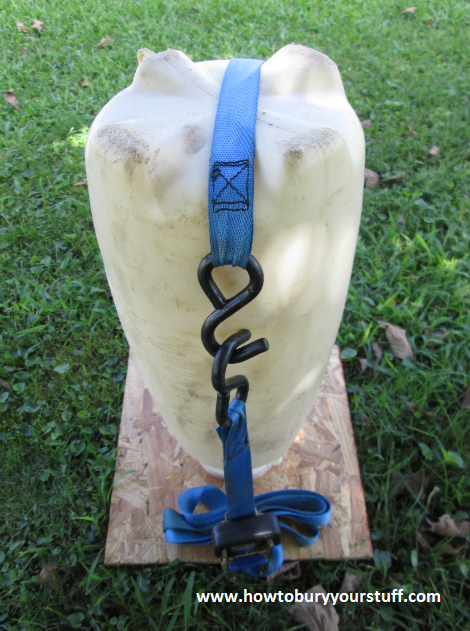
10 sprayerSet it on a piece of wood to prevent dirt from being pushed up inside. Garden sprayers like these are long lasting and very tough. I’m just guessing, but it could probably withstand depths deeper than most of us care to dig. Just as I did with the cooler, I used a ratchet strap to secure the package as one piece. You can count on a quality ratchet strap lasting about three years underground.
10 sprayer on osbAlways remember that just as in everything else in life, creativity counts; some preppers get creative and use tire nozzles to purge their PVC pipe caches with nitrogen and leave 3-5lbs PSI of pressure inside the tube. Without oxygen, nothing can rust or oxidize; and with constant internal pressure, you are guaranteed not to have any water leaking in.
This may sound paranoid, but watch your air cover. There are more eyes in the sky than we realize and all of the precautions in the world won’t matter a bit if there is a photo of you on Google Maps digging a hole in a field :)

My Personal Cache

My Personal Cache – A Step-by-Step Guide

How to Bury Your Stuff: The Ultimate Step-by-Step Guide

Because no one can take what they cannot find
Take an empty 20 ounce Coca-Cola bottle, rinse and dry it out completely. Screw the lid on tight and alternate placing the empty bottle in the freezer, then outside on a hot summer day and back in the freezer again. Sooner or later, if you continue to do this, moisture will start appearing on the inside of the bottle. This is the exact same thing that can easily happen to all of your electronic circuit boards. To guard against this, I will be going through a step-by-step process and showing you exactly how I am caching my own external hard drive.
For this demonstration, I’m going to be copying my laptop’s files onto an external hard drive. I will then cache this hard drive at another location, but first I will be photographing the steps I am taking in order to show you the proper way to shield your electronics and digital devices from both condensation and electro-magnetic pulse.
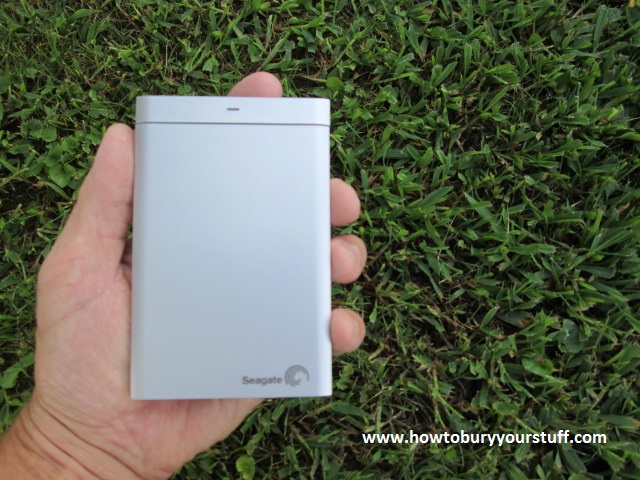
In this photo, you can see my silver Seagate 1tb Backup Plus HDD.
09 seagate 14 font boldThis Seagate HDD model has moving parts that may not withstand long-term exposure to moisture and extreme temperatures; so while burying this particular hard-drive, it will be critical that I dig below the frost-line. When burying digital storage devices, it’s preferable to use an SSD (solid-state drive) whenever possible; they are expensive but also incredibly tough and able to handle many times the abuse.
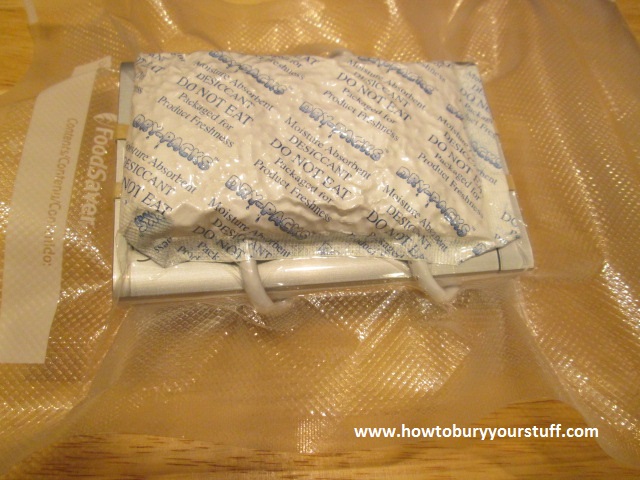
I have already saved my laptop’s important files (music, photos, vacation videos and a couple of my favorite films) to the HDD and then placed it inside a FoodSaver vacuum bag with two bags of desiccant.
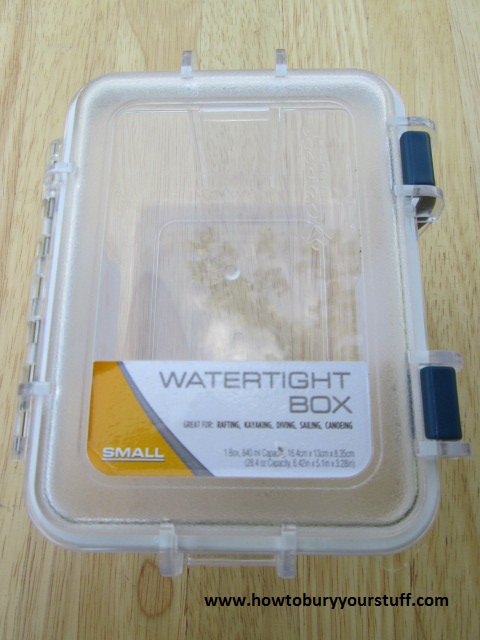
09 seagate.hdd.foodsaverI then wrapped the FoodSaver bag with a cotton t-shirt for temperature insulation and placed the wrapped HDD inside an Outdoor Products brand dry box. These little things are great for water-sports, however after about 3 years the seals will start to dry-rot. So if you’re caching for several years, use all-purpose silicone around the seal. If you prefer, substitute a small Tupperware container in place of the dry box. You will still need to use all-purpose silicone to seal the lid and I would wrap it with half a roll of tightly-bound electrical tape for insurance.
09 outdoor.products
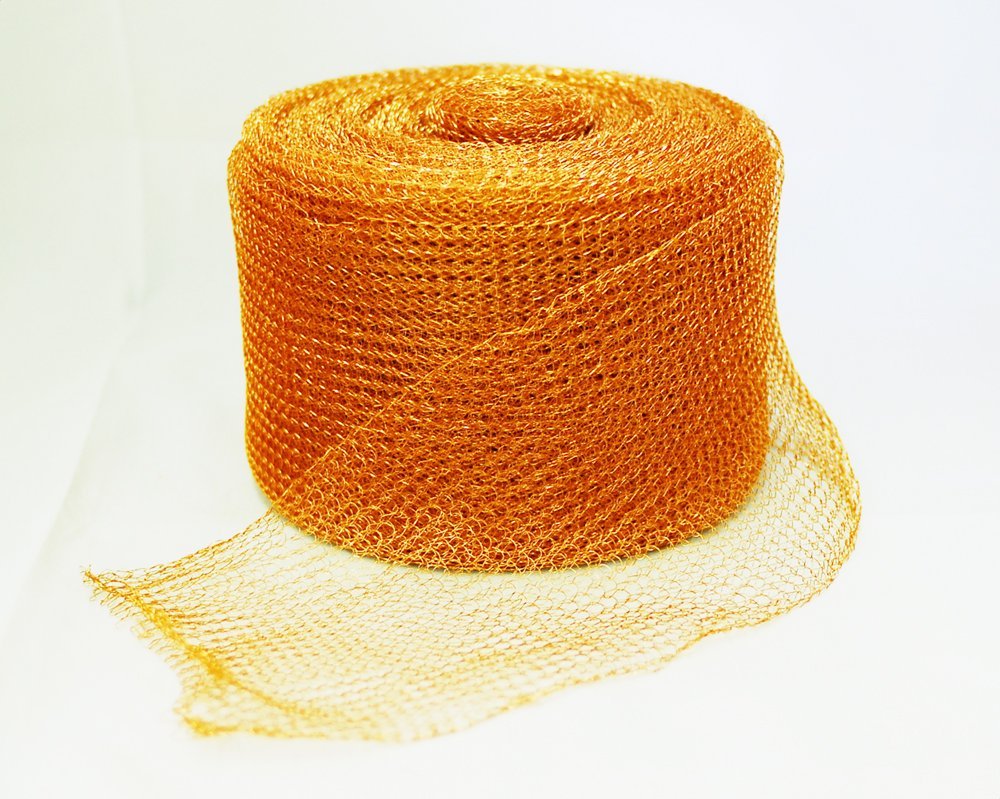
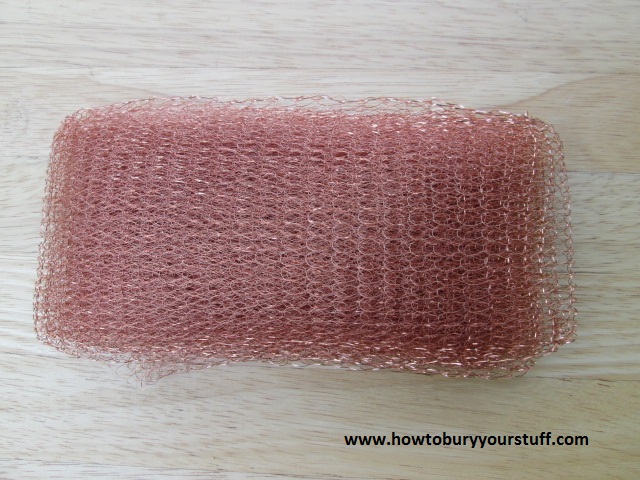
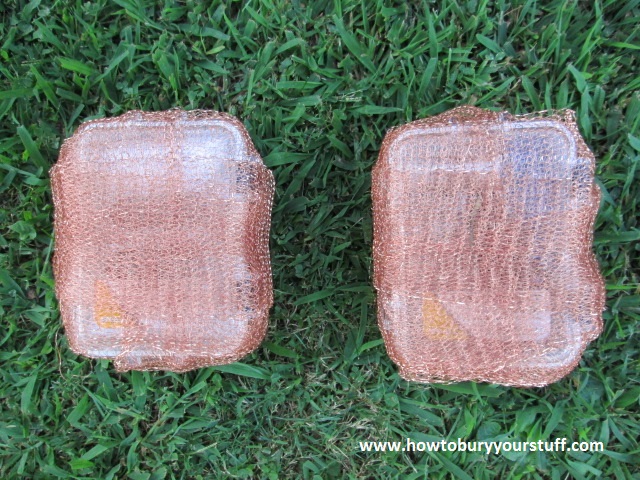
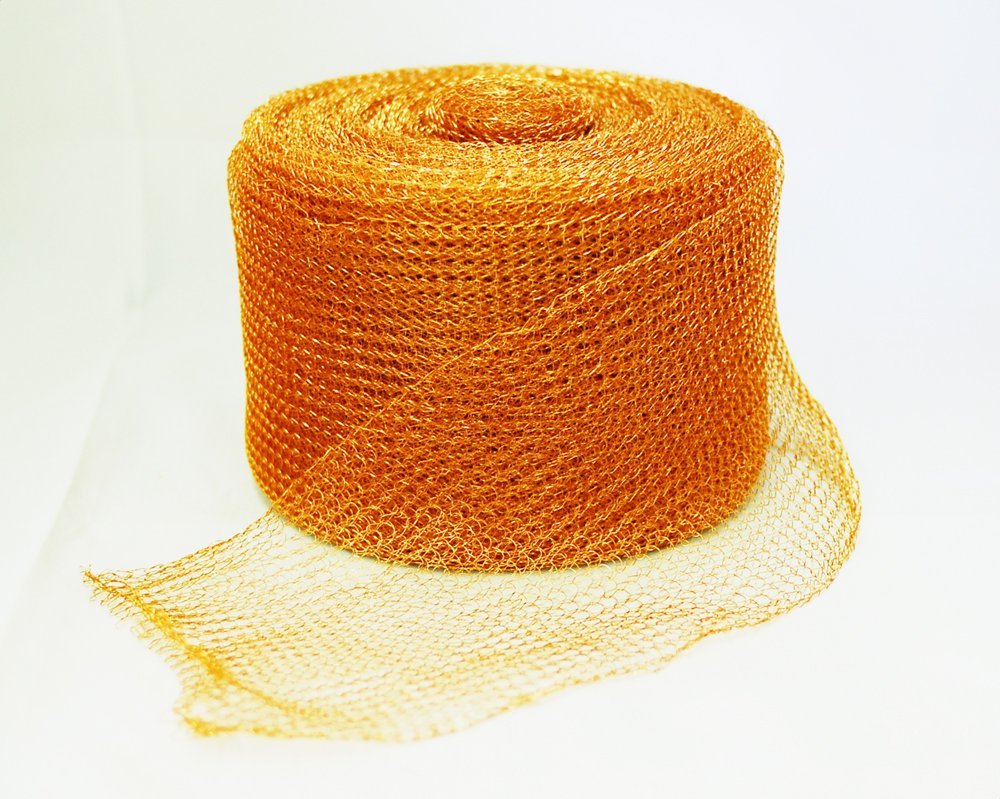
I now have a Seagate 1tb Backup Plus inside a sealed container made completely out of plastic and silicone, both of which are good electrical insulators. I want to shield my hard-drive from electro-magnetic pulse (EMP) so I’m going to construct what is called a Faraday Cage. I won’t go into details about how the Faraday works, there is plenty of data available elsewhere online. As you can see below, I’ve wrapped this plastic container with copper mesh, successfully shielding my HDD from electrical disturbances.
09 copper.mesh
09 outdoorproductswrappedforemp
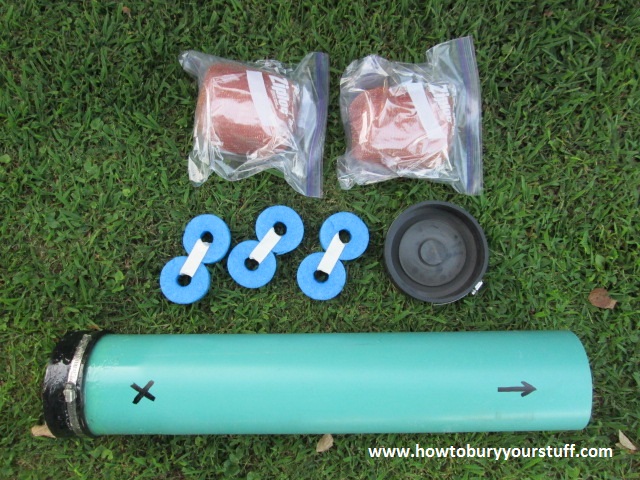
At the last minute, I have decided to add several more items, including another Outdoor Products dry box to this cache. The second dry box contains an extra pair of reading glasses, a pocketknife and a few other personal items. I will be using sections of foam swimming pool “noodles” to keep the boxes evenly spaced while inside the tube. This practice maintains a good temperature buffer and also prevents damage during transport by holding everything inside the tube in place.
As you can see in the photo below, the two boxes and the styrofoam noodle “spacers” will only take up about two-thirds the length of the pipe. The remaining space will be used for a few more personal items; I’ll leave it to your imagination what they might be.
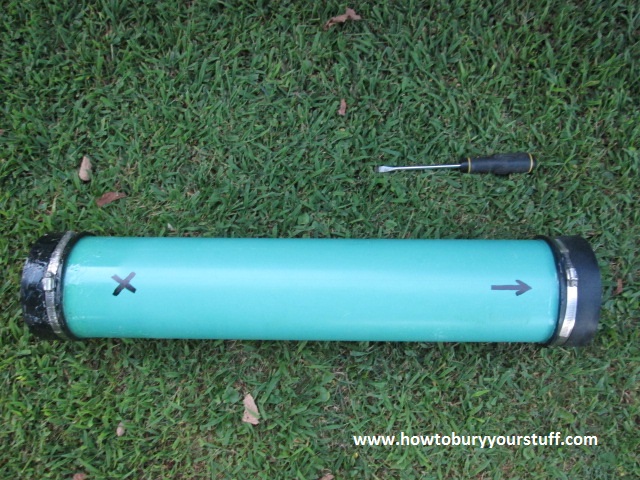
09 assembled.pvcI have taken both of my Outdoor Product dry boxes and placed them inside a section of 6-inch PVC sewer pipe. I’ve used epoxy resin to seal one end and petroleum jelly to seal the other; using a permanent marker to designate which end of the pipe can be opened and which cannot.
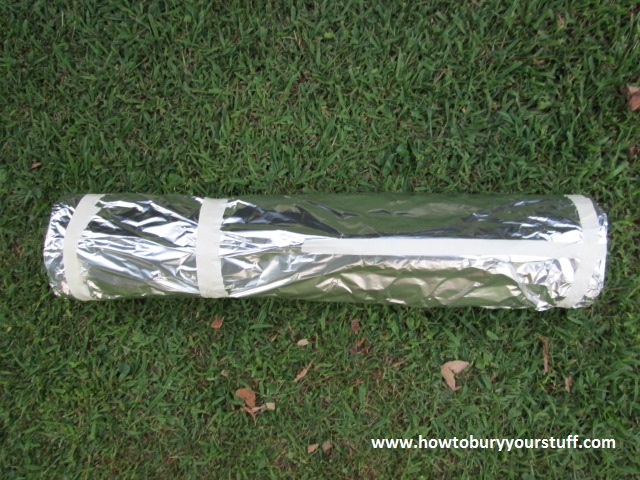
09 assemlbed cacheThe “dead air” space inside the pipe acts as a second layer of insulation against rapidly changing temperatures and the pipe itself acts as a second water-proofing device. Since the pipe and endcaps are also electrical insulators, when I bury the pipe I will wrap it completely in heavy-duty aluminum foil to act as a second Faraday Box.
Remember to cut slits in the aluminum foil along the bottom of the pipe for drainage; the last thing you want is water pooling around your cache. I’m also using the aluminum foil to attach a flat screwdriver to one end of the pipe.
09 cache.empWell, there you have it.  I’ve done this more times than I could begin to count and I know that as sure as I sit here, that many years from now, this HDD can be safety retrieved in pristine condition. I plan to launch this website about a week or so after burying this cache near a cabin in the Daniel Boone National Forest. I’ll bury the pipe over the Labor Day holiday weekend on a ridgeline about 24 inches below the surface, exactly as it is shown in the above photo.
With double redundancies insuring against water damage, electrical surge and condensation, I can rest easy; knowing that all of my digital data is securely protected against anything and everything.

Helpful links and other Resources

Helpful Links and Other Resources

Because no one can take what they cannot find
My first personal goal while constructing this website was to acknowledge that I am not the only person skilled when it comes to ditching stuff underground. There are several other very good references currently available and a few of them have some experience with aspects of underground caching that I do not. With that in mind, I thought that I would share a few helpful links.
One of my favorite websites is SurvivalistBoards.com and they have a survival forum loaded with threads about burying stuff underground. You can simply search their archives with the keywords “burying underground” and you’ll get several very good discussions with some great advice about geocaching weapons, food etc. This website also has a repository of downloadable PDF’s about survival and prepping. It’s a friendly and supportive group of people and one of the largest survival forums that I’ve seen.
Survival Cache has an excellent article about a wonderful little invention called the “MonoVault.” Since I personally have no experience with this caching strongbox, I thought that I would provide the link here – The MonoVault has a strong reputation and comes in at least three different sizes. It is not cheap, but like I mentioned earlier about Pelican, if you want the best you have to pay for it. Even if you never buy a MonoVault, you should still read this article. You’ll find it surprisingly informative and well-written; in my humble opinion it’s probably the best piece of literature about caching underground.
I may be mistaken, but it’s my understanding that among survivalists and preppers, a man named Jim Rawles stands out above the rest. He writes a blog where he personally covers just about every subject that one might envision. He wrote a piece a few years back about permanent caches… click here to read it …about which I do have some knowledge and experience but certainly not as much as Mr Rawles. I may add a webpage later about bigger projects but even if I do, I would still recommend this link. It’s a detailed and informative article written by someone with first-hand knowledge and many years experience.
A post by someone with the username JeepHammer once caught my attention. It’s located at PreparedSociety.com and it caught my eye because it was intelligently written and also because apparently I’m not the only person to think of turning caches upside-down. JeepHammer gives some great advice about waterproofing and locating a caching spot. He also has some helpful tips for camouflage and operational security.
If you are burying firearms then you’ll want to check out Great Northern Prepper …as I’ve not yet gone into great detail about guns and ammo. I do plan on adding a step-by-step tutorial about burying guns and ammo yet I would still recommend reading this blog post. The Great Northern Prepper covers pre-purchase aspects and mentions PVC pipe and the MonoVault; an excellent and informative article.
I decided that a website dedicated to underground caching would be incomplete without mentioning this book. Google search TC-31-29A, it’s the U.S. Army’s technical manual for caching and it’s available for download on dozens of sites. One word of caution; this manual has a section on a method called submersion. This usually involves diving underwater, tying your cache to a moor and using specialized packaging/containers. Extreme caution should be taken when employing this method of caching. Use common sense when considering both water currents during flooding and activities by the general public; like fishing, that may cause the discovery of your cache or interfere with your ability to retrieve your cache.