Currency, Photographs and Documents
How to Bury Your Stuff: The Ultimate Guide to Burying Your Documents
Because no one can take what they cannot findWhenever the subject of burying money arises, I always say the same thing … Don’t do it. Don’t bury paper money. “Paper” money is not actually paper, it’s cloth and cloth will mildew, mold or rot very easily. Not only is this a bad thing for the obvious reasons, but intentionally causing damage to United States currency is a crime.
If you insist on burying money, at least use Sacagawea dollars, Susan B. Anthony silver dollars or any other metal coin. Again, I would not recommend this route, exchange your cash for gems or precious metals. It you are a survival prepper, then you are probably already aware that in the event of an economic collapse, civil war or any variation of an apocalypse; currency will be worthless anyway.
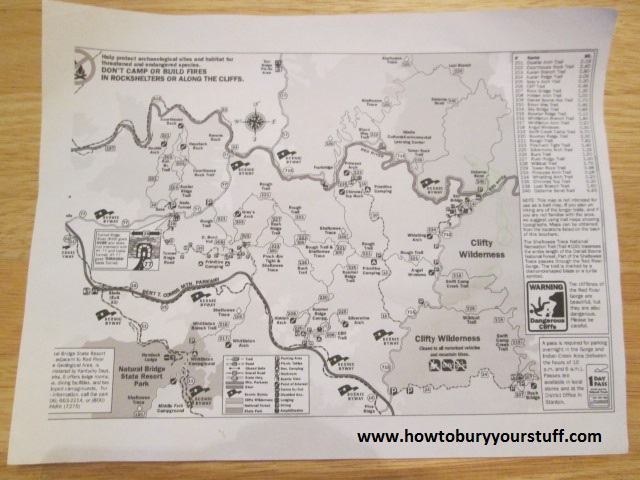
Burying paper documents like birth certificates or real estate deeds can be tricky. The most likely damage will come from moisture and that moisture will most likely damage the paper itself, in addition to ruining even the most permanent ink. You’ll need some aluminum foil, Saran Wrap or any other brand of plastic food wrap. For the purposes of this tutorial, I’m using the map shown below to simulate any important document or manuscript.
Using the photos as a guide, separate each individual sheet of paper with plastic wrap or foil. If you need to fold a sheet of paper, fold it over a piece of plastic wrap or foil so that the paper doesn’t touch itself. After this, I recommend Zip-Loc and ONLY Zip-Loc brand sandwich bags, throw in some desiccant if you have any and then squeeze out as much air as possible. In the following sequence, I’ve folded the map twice; each time placing foil between the paper, trimmed the edges with scissors then placed the folded map inside two Zip-Loc bags.
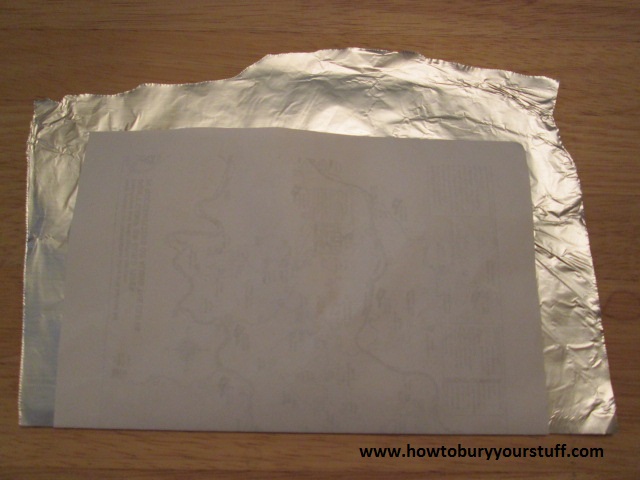 |
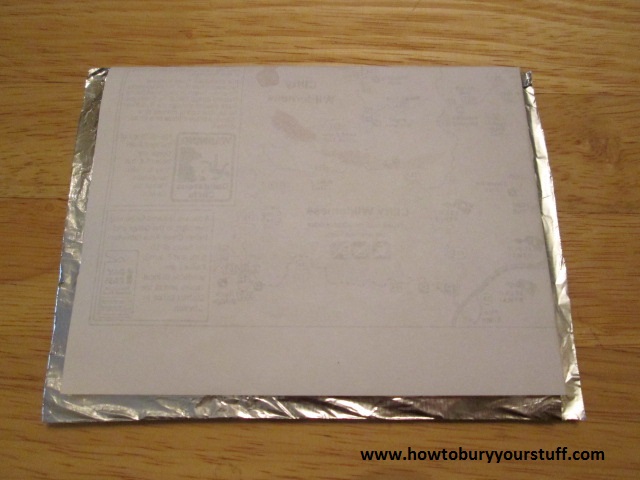 |
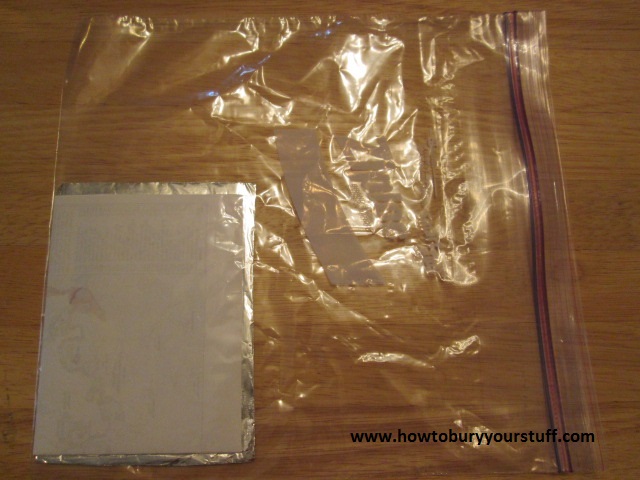 |
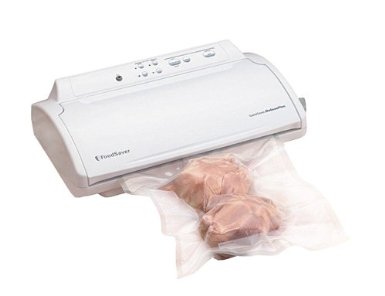
Since air contains moisture, the “hands-down” best method of burying photographs, documents or paper is to use the FoodSaver vacuum machines. Unlike external hard drives or small handguns, paper products like documents and photographs are flat, making the FoodSaver vacuum machine the perfect tool.
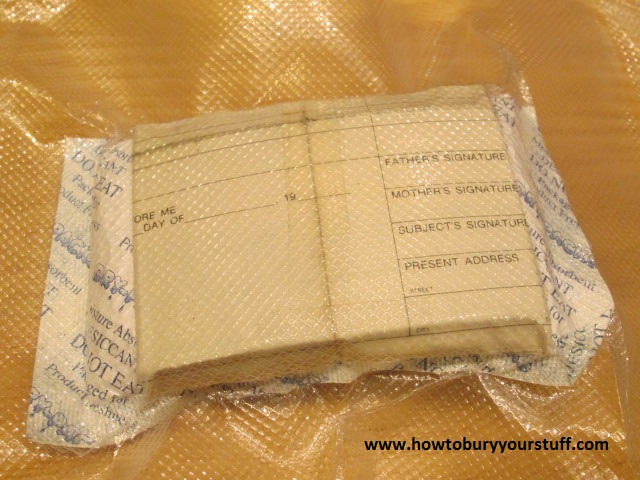
When it sucks the air out of the bag, paper products allow the machine to remove virtually all air, preserving your items almost perfectly in a permanently sealed wrap. This is the best way that I’ve ever found to bury paper documents. Here’s a photo of my own birth certificate, folded around Saran Wrap, my laminated student ID Card and packed with a single packet of desiccant. This particular photo is part of a larger project explained on my webpage entitled “My Personal Cache” where I am actually burying an external hard drive along with several other personal items.
 When
burying books (should you desire to hide a ledger, etc), I’ve always
just squeezed out as much air as possible. If you have the time and
energy, place a piece of Saran Wrap or aluminum foil between EACH page;
when burying books for long periods of time, this time-consuming and
frustrating process can make the difference between salvation or
disaster. Make sure to dig below the frost line and follow the
guidelines on my General Tips page; and it wouldn’t hurt to dig it up
once a year to check your cache.
When
burying books (should you desire to hide a ledger, etc), I’ve always
just squeezed out as much air as possible. If you have the time and
energy, place a piece of Saran Wrap or aluminum foil between EACH page;
when burying books for long periods of time, this time-consuming and
frustrating process can make the difference between salvation or
disaster. Make sure to dig below the frost line and follow the
guidelines on my General Tips page; and it wouldn’t hurt to dig it up
once a year to check your cache.
No comments:
Post a Comment